Sample Setup by Component List
In this article you will walk through an example of setting up samples for stationary equipment using myLab. The “setup by component list” method is typically used with stationary equipment (e.g. in an industrial plant) as few samples are taken from many units.
Finding the Components
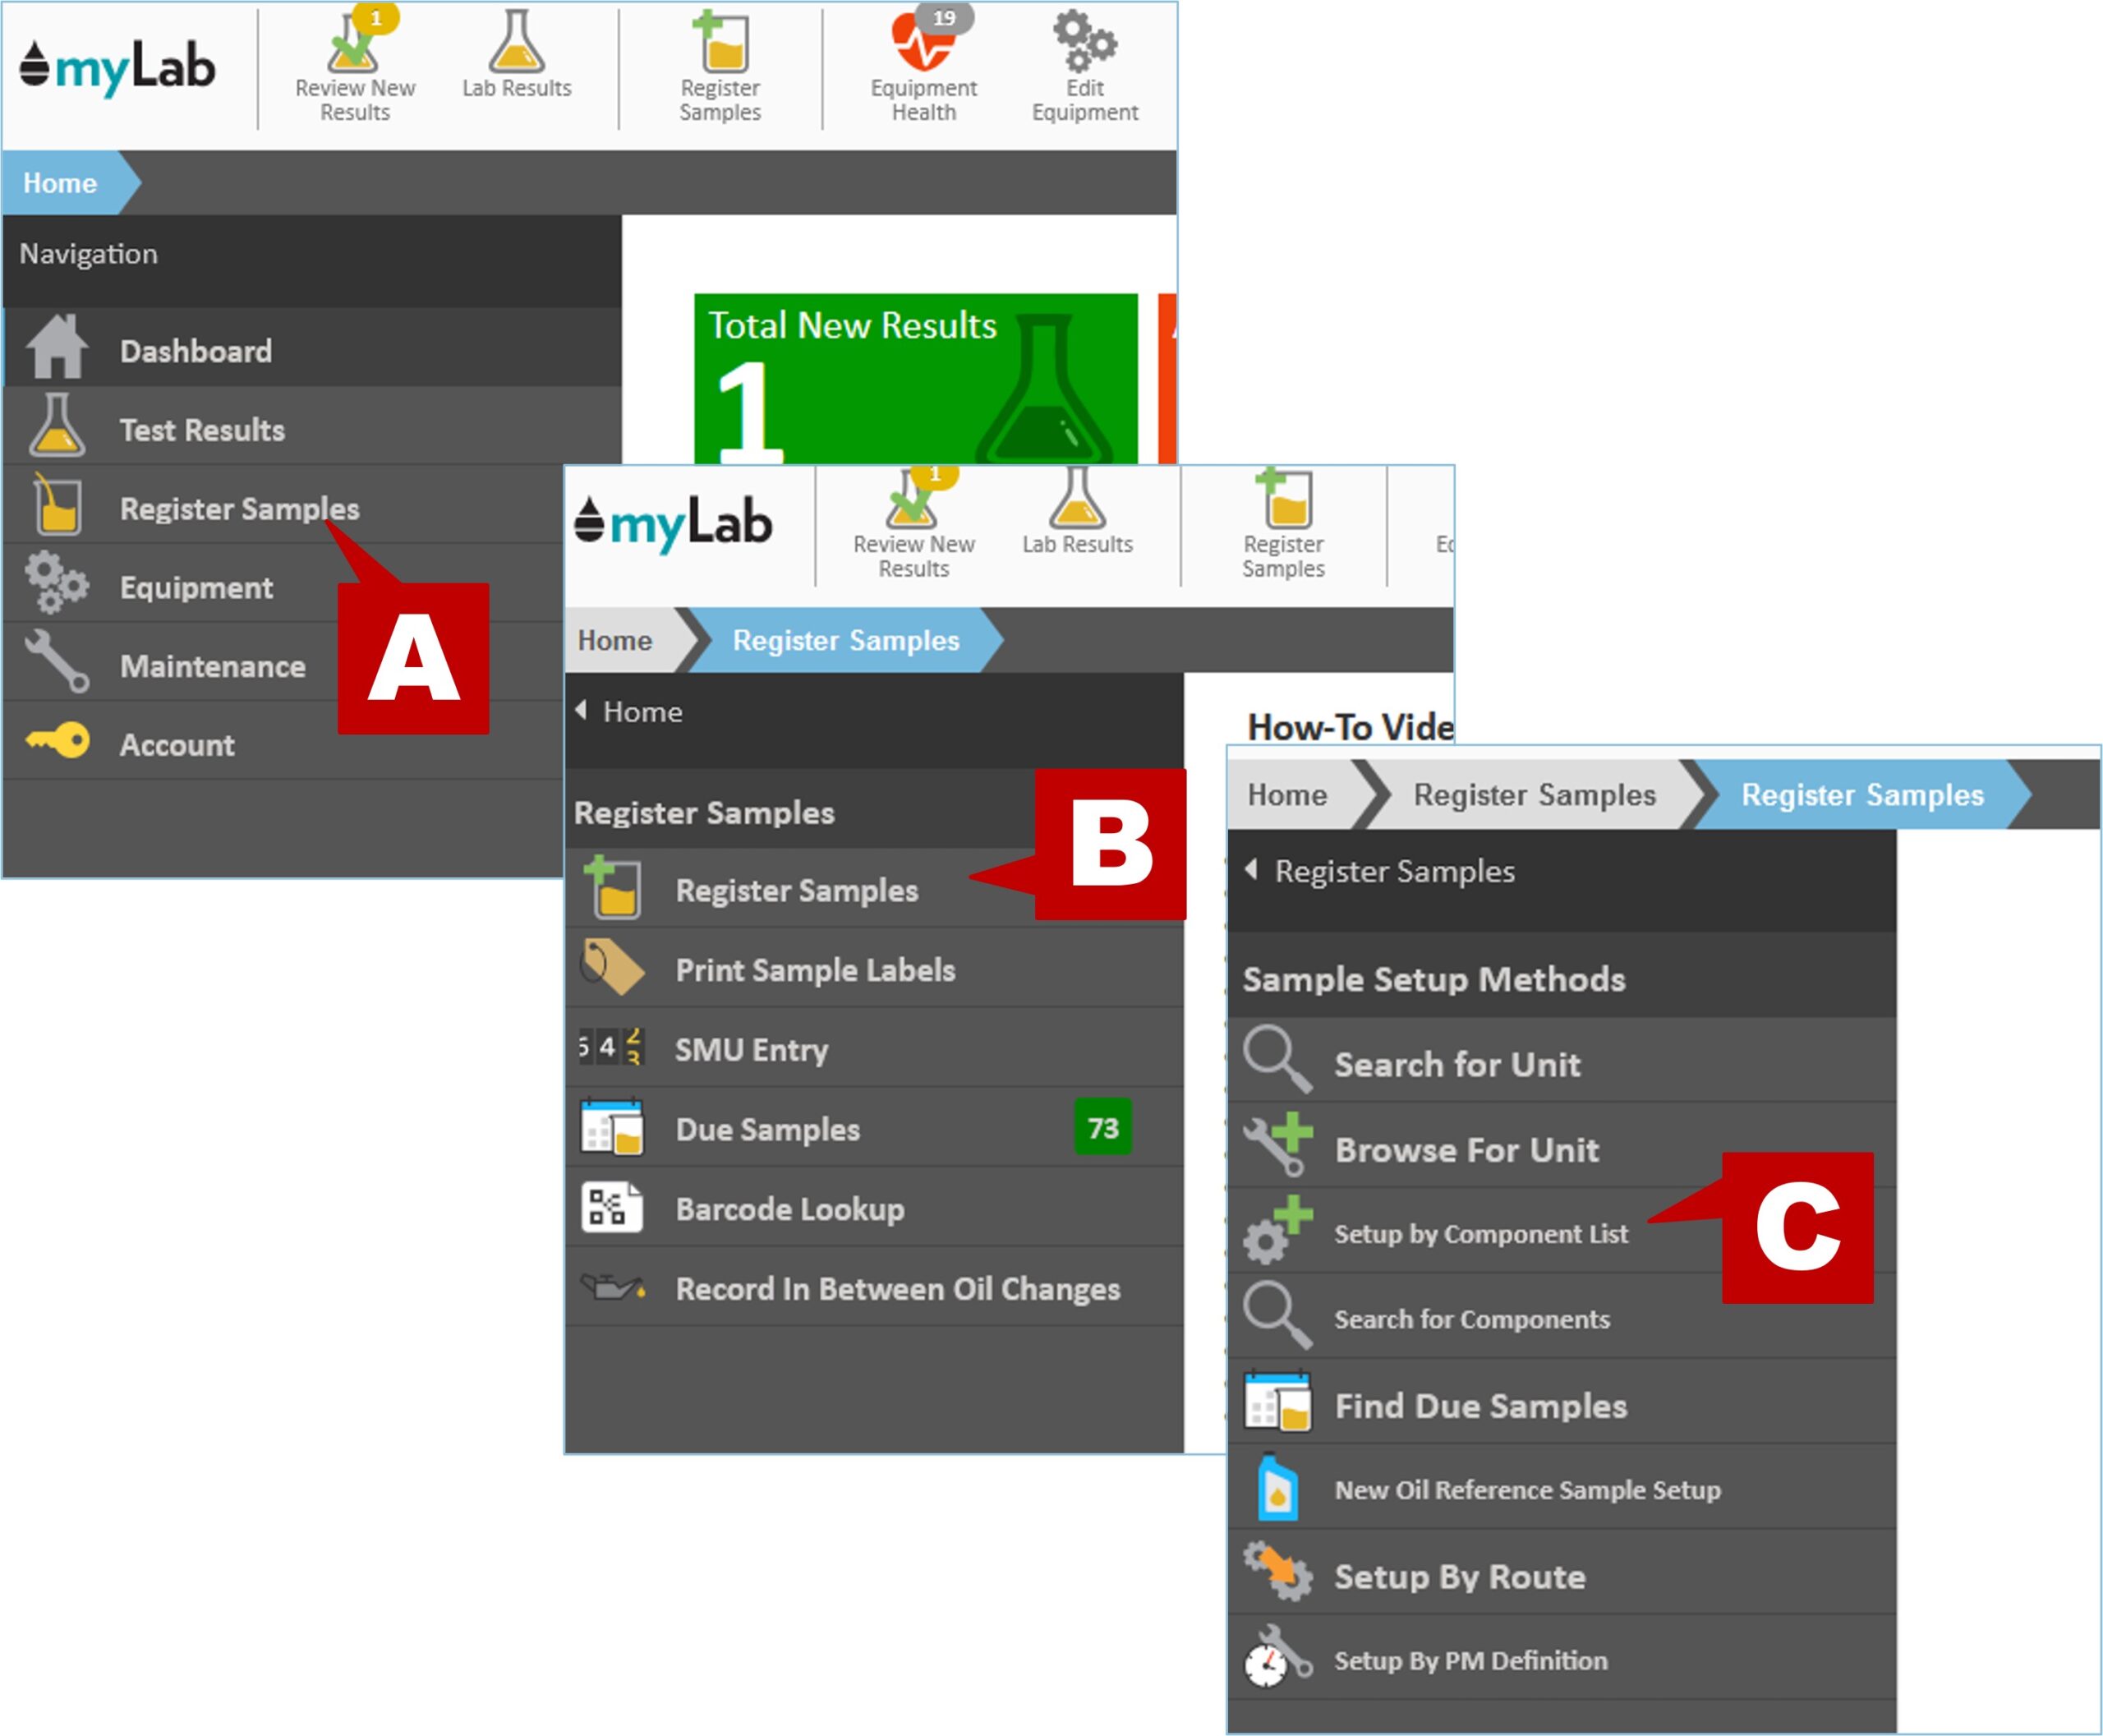
- Select “Register Samples” task from the myLab home page left navigation (A) and “Register Samples” in the next menu (B). Click on “Setup by Component List” (C).
- Click on the company, job site, or customer where the components are located. In our example, we’re going to select “ABC COMPANY SITE 2 2020”.
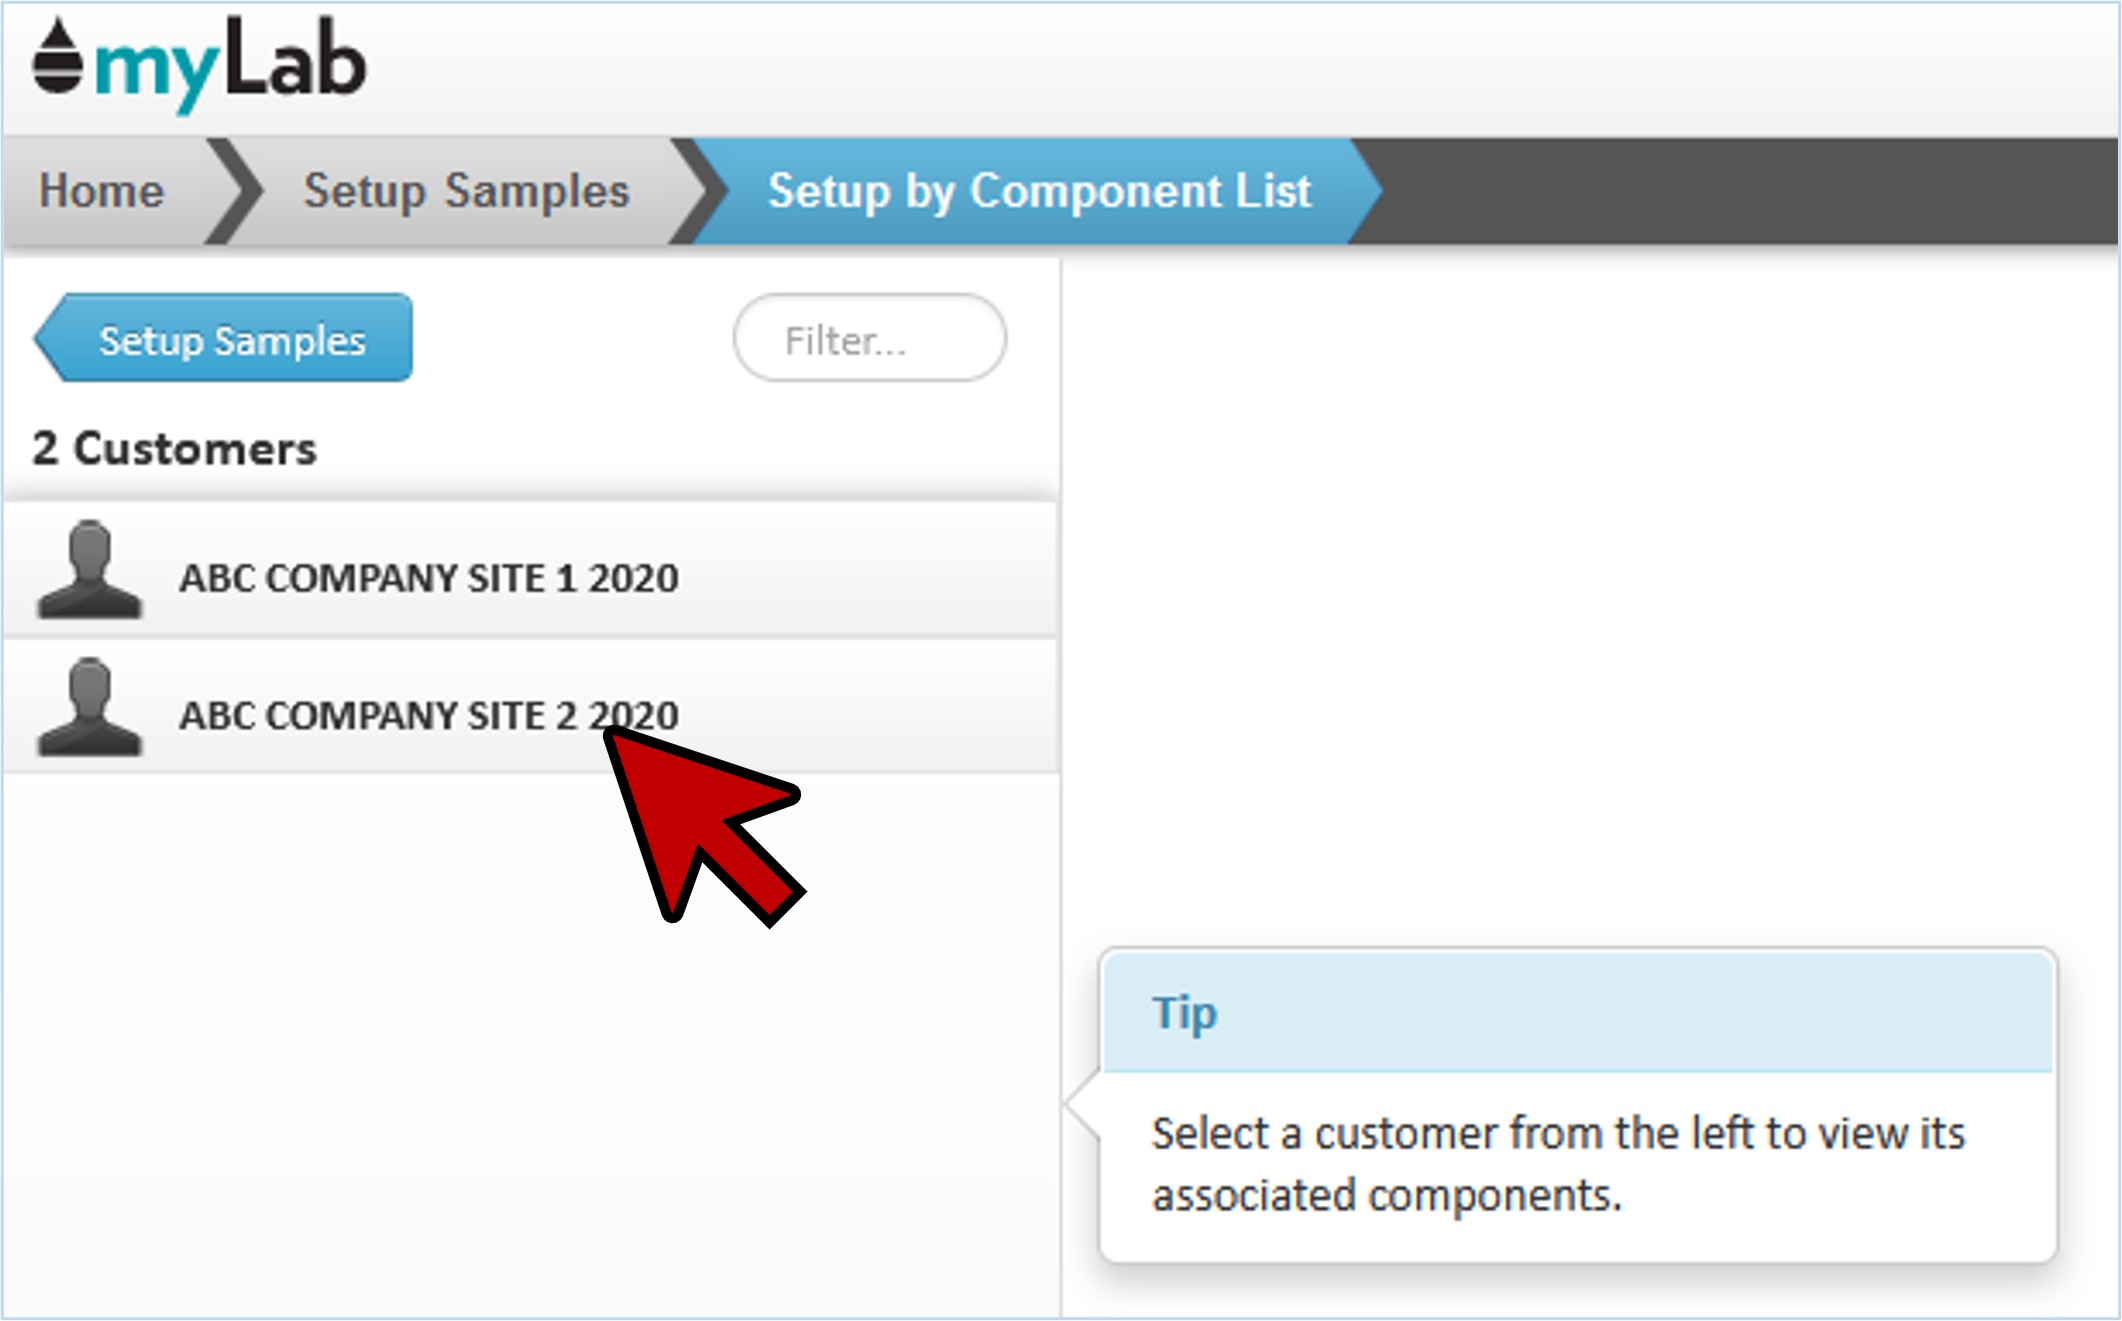
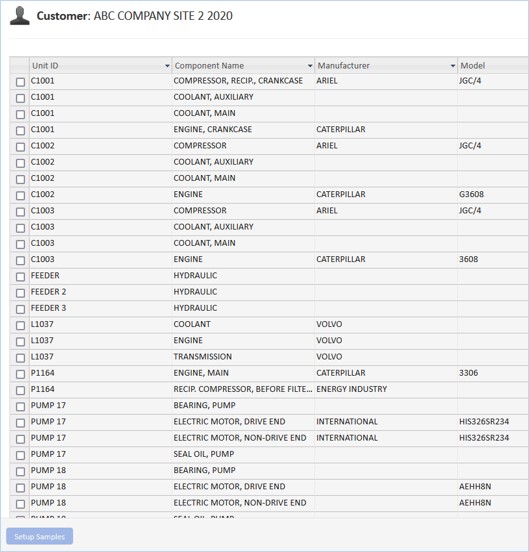
- Once you select the location, myLab will then show the list of all associated units and components that have previously been added to myLab.
Setting up Samples
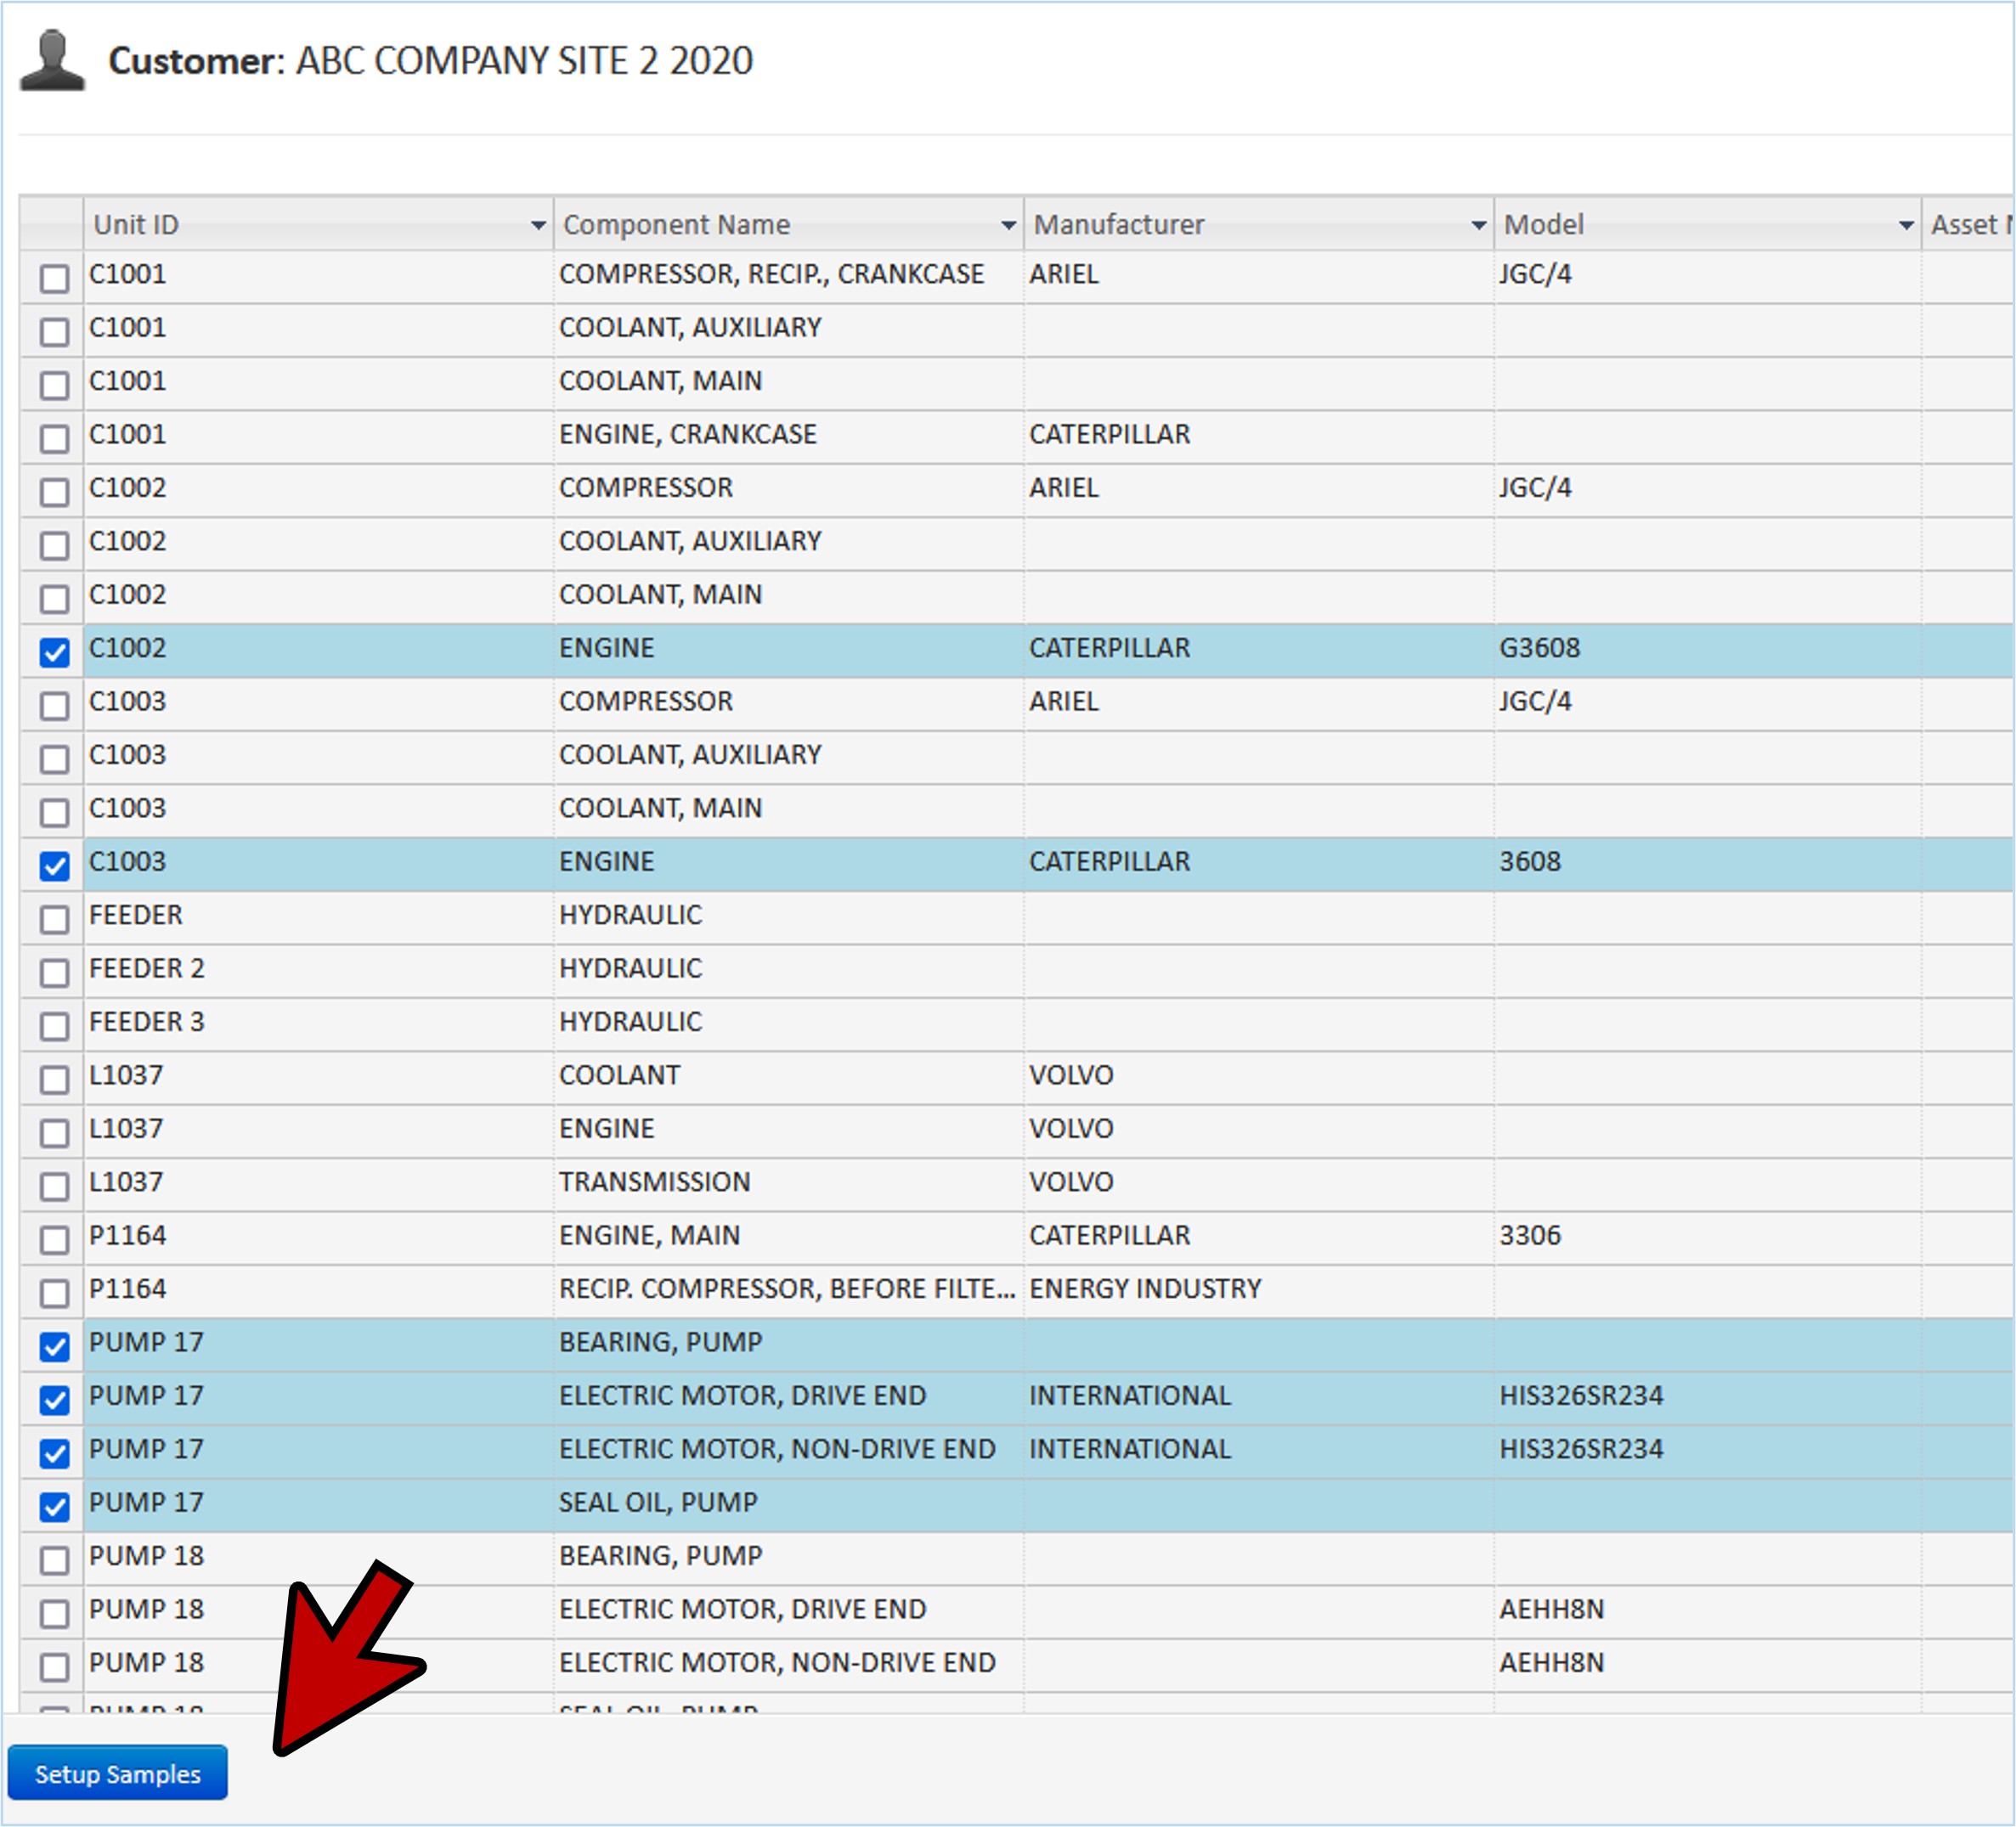
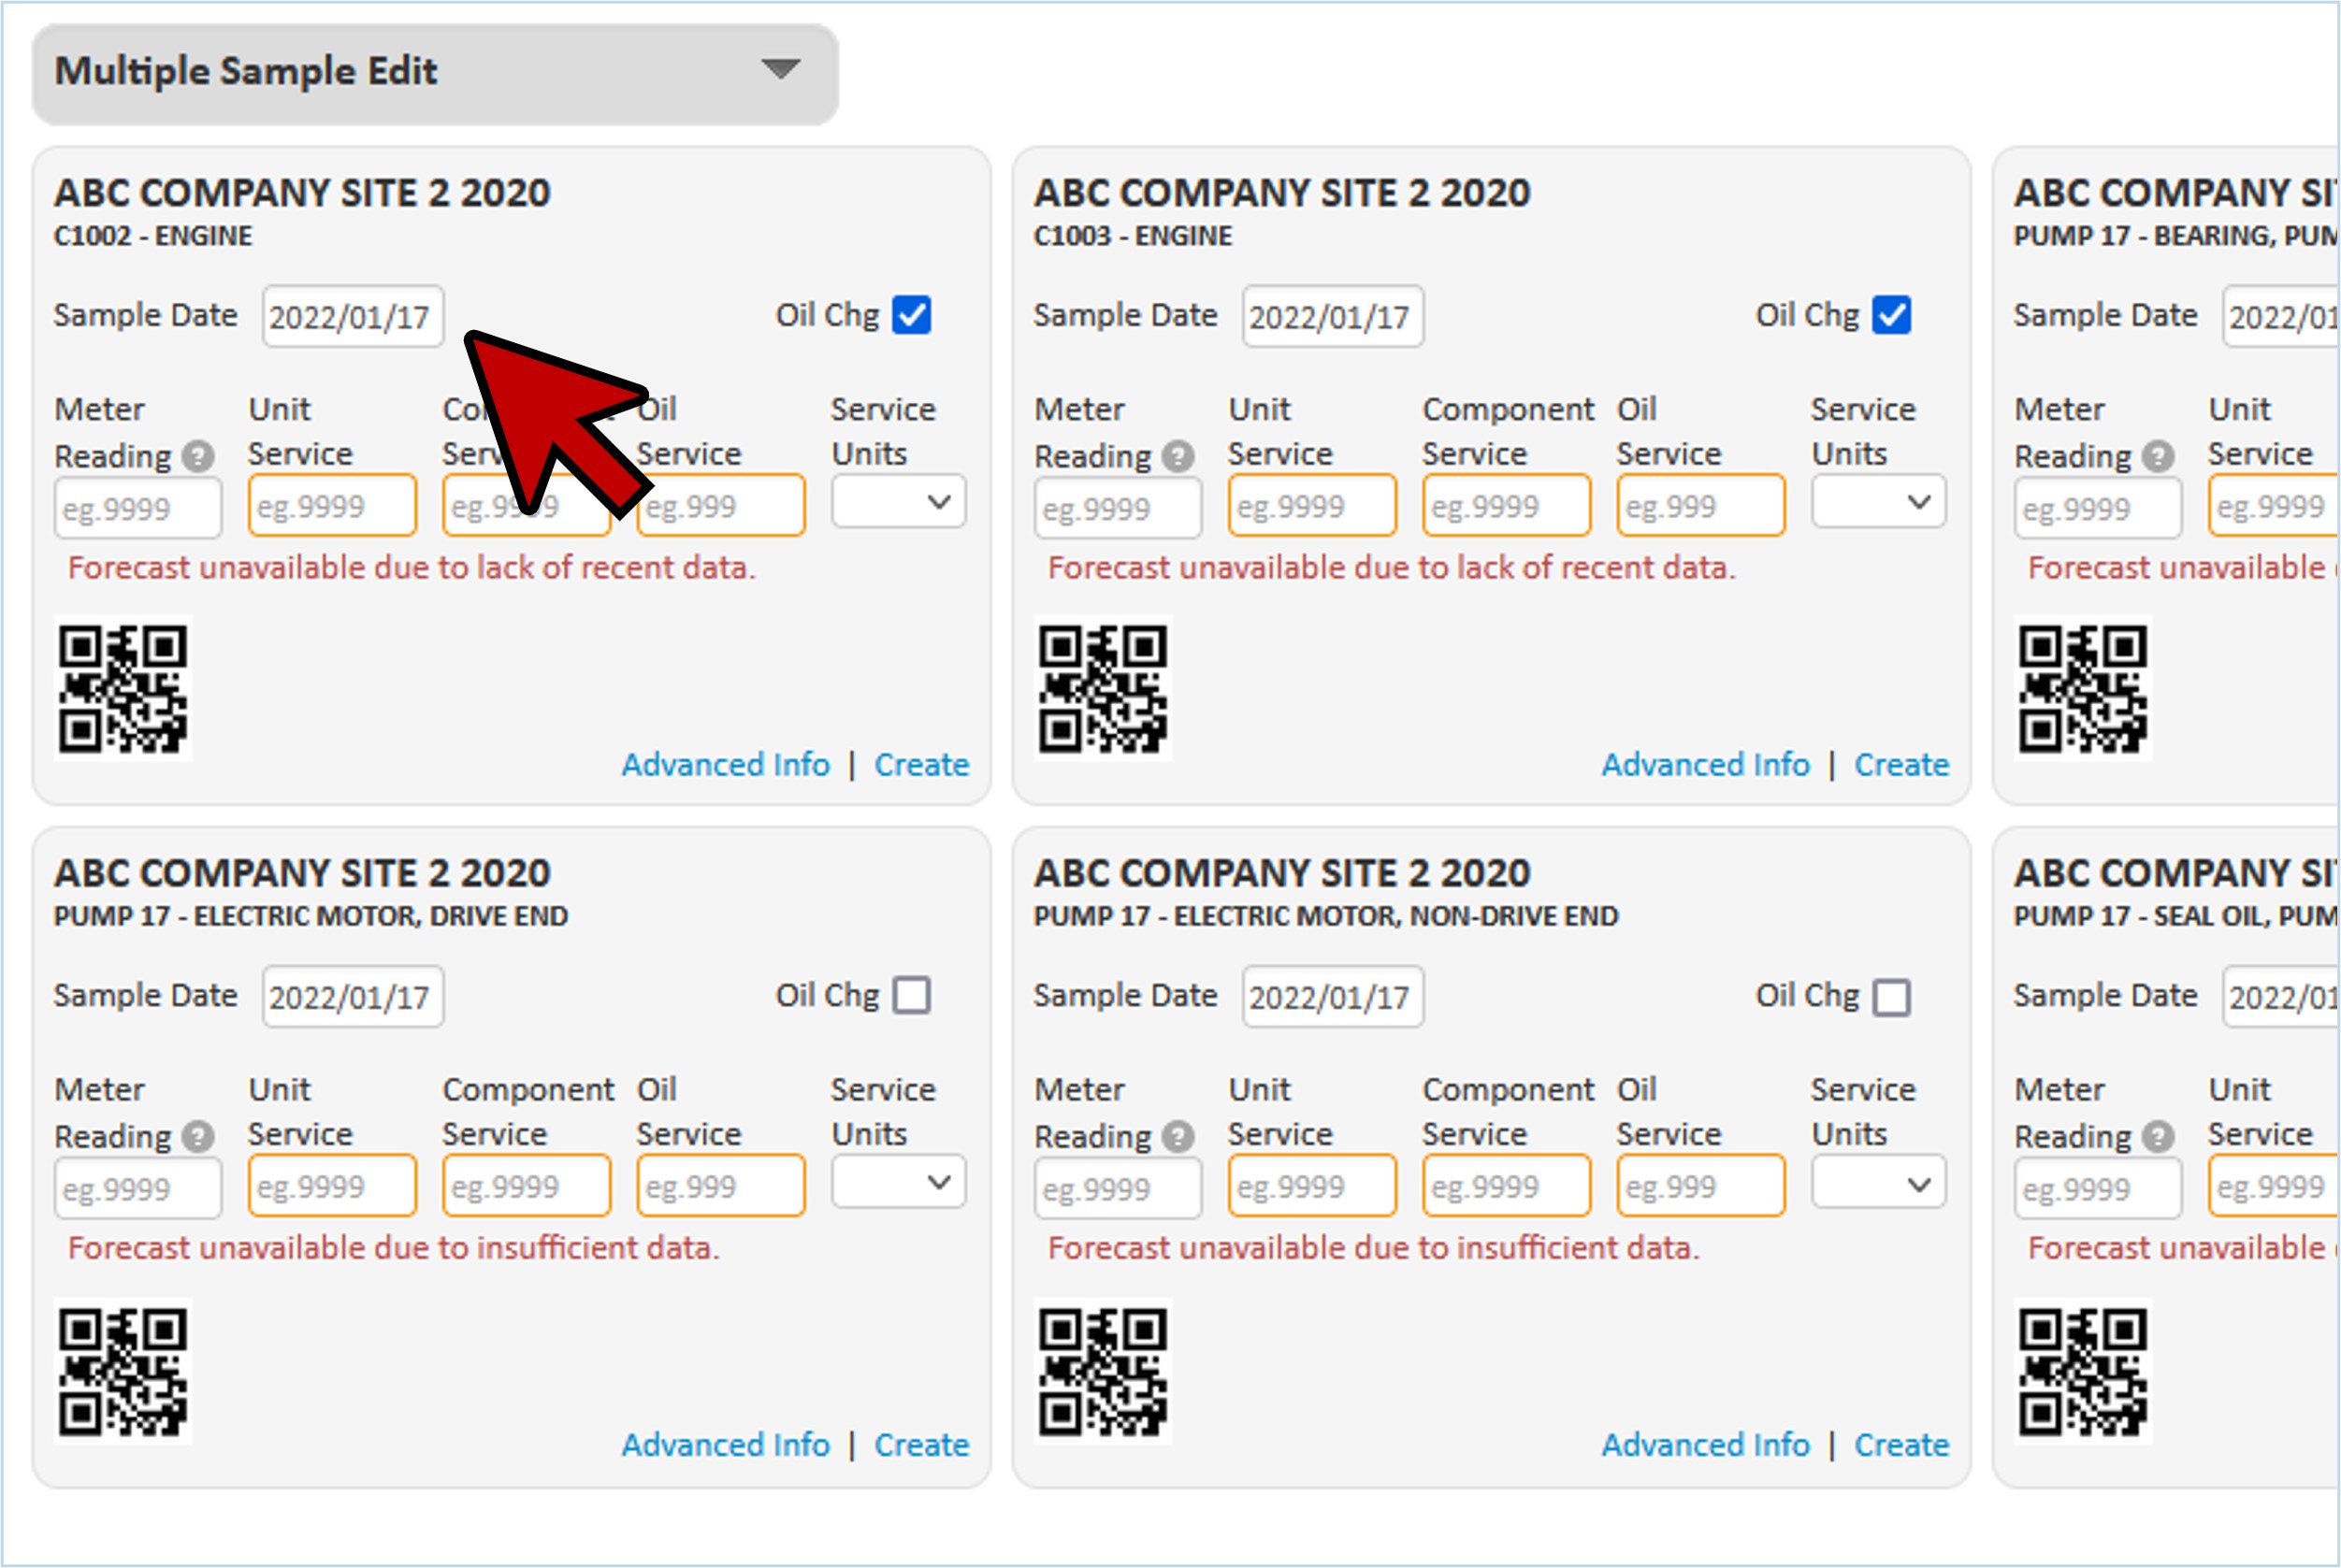
- Select the units/components that have been sampled by clicking on the check boxes on the left side.
- In this example, we will select six components as shown in the image below.
- Click on the “Setup Samples” button to start the sample registration.
- Appearing on the page you will find sample labels for each of your components. The dates are already filled in with the current date.
- As the date samples were taken may not be the current date, you can change the date by clicking on the “Date” field at the top right of the page and enter the actual sample date.

Forecast Hours
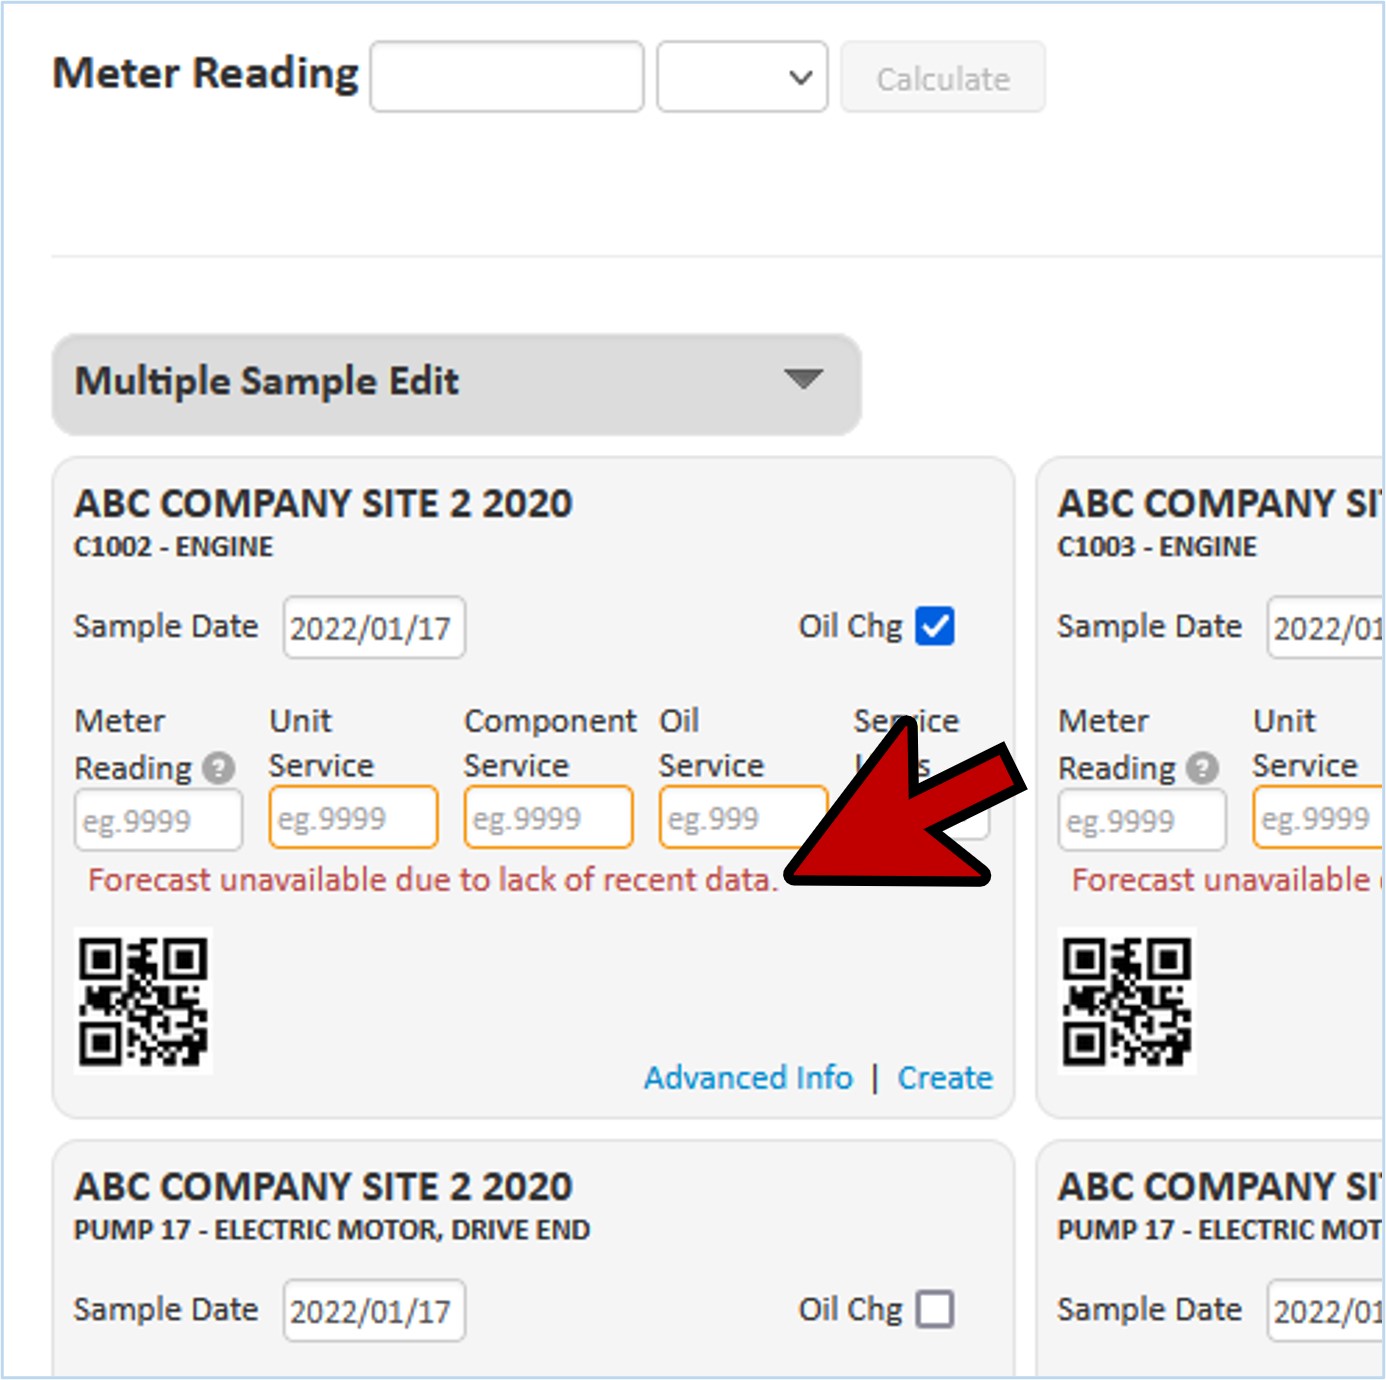
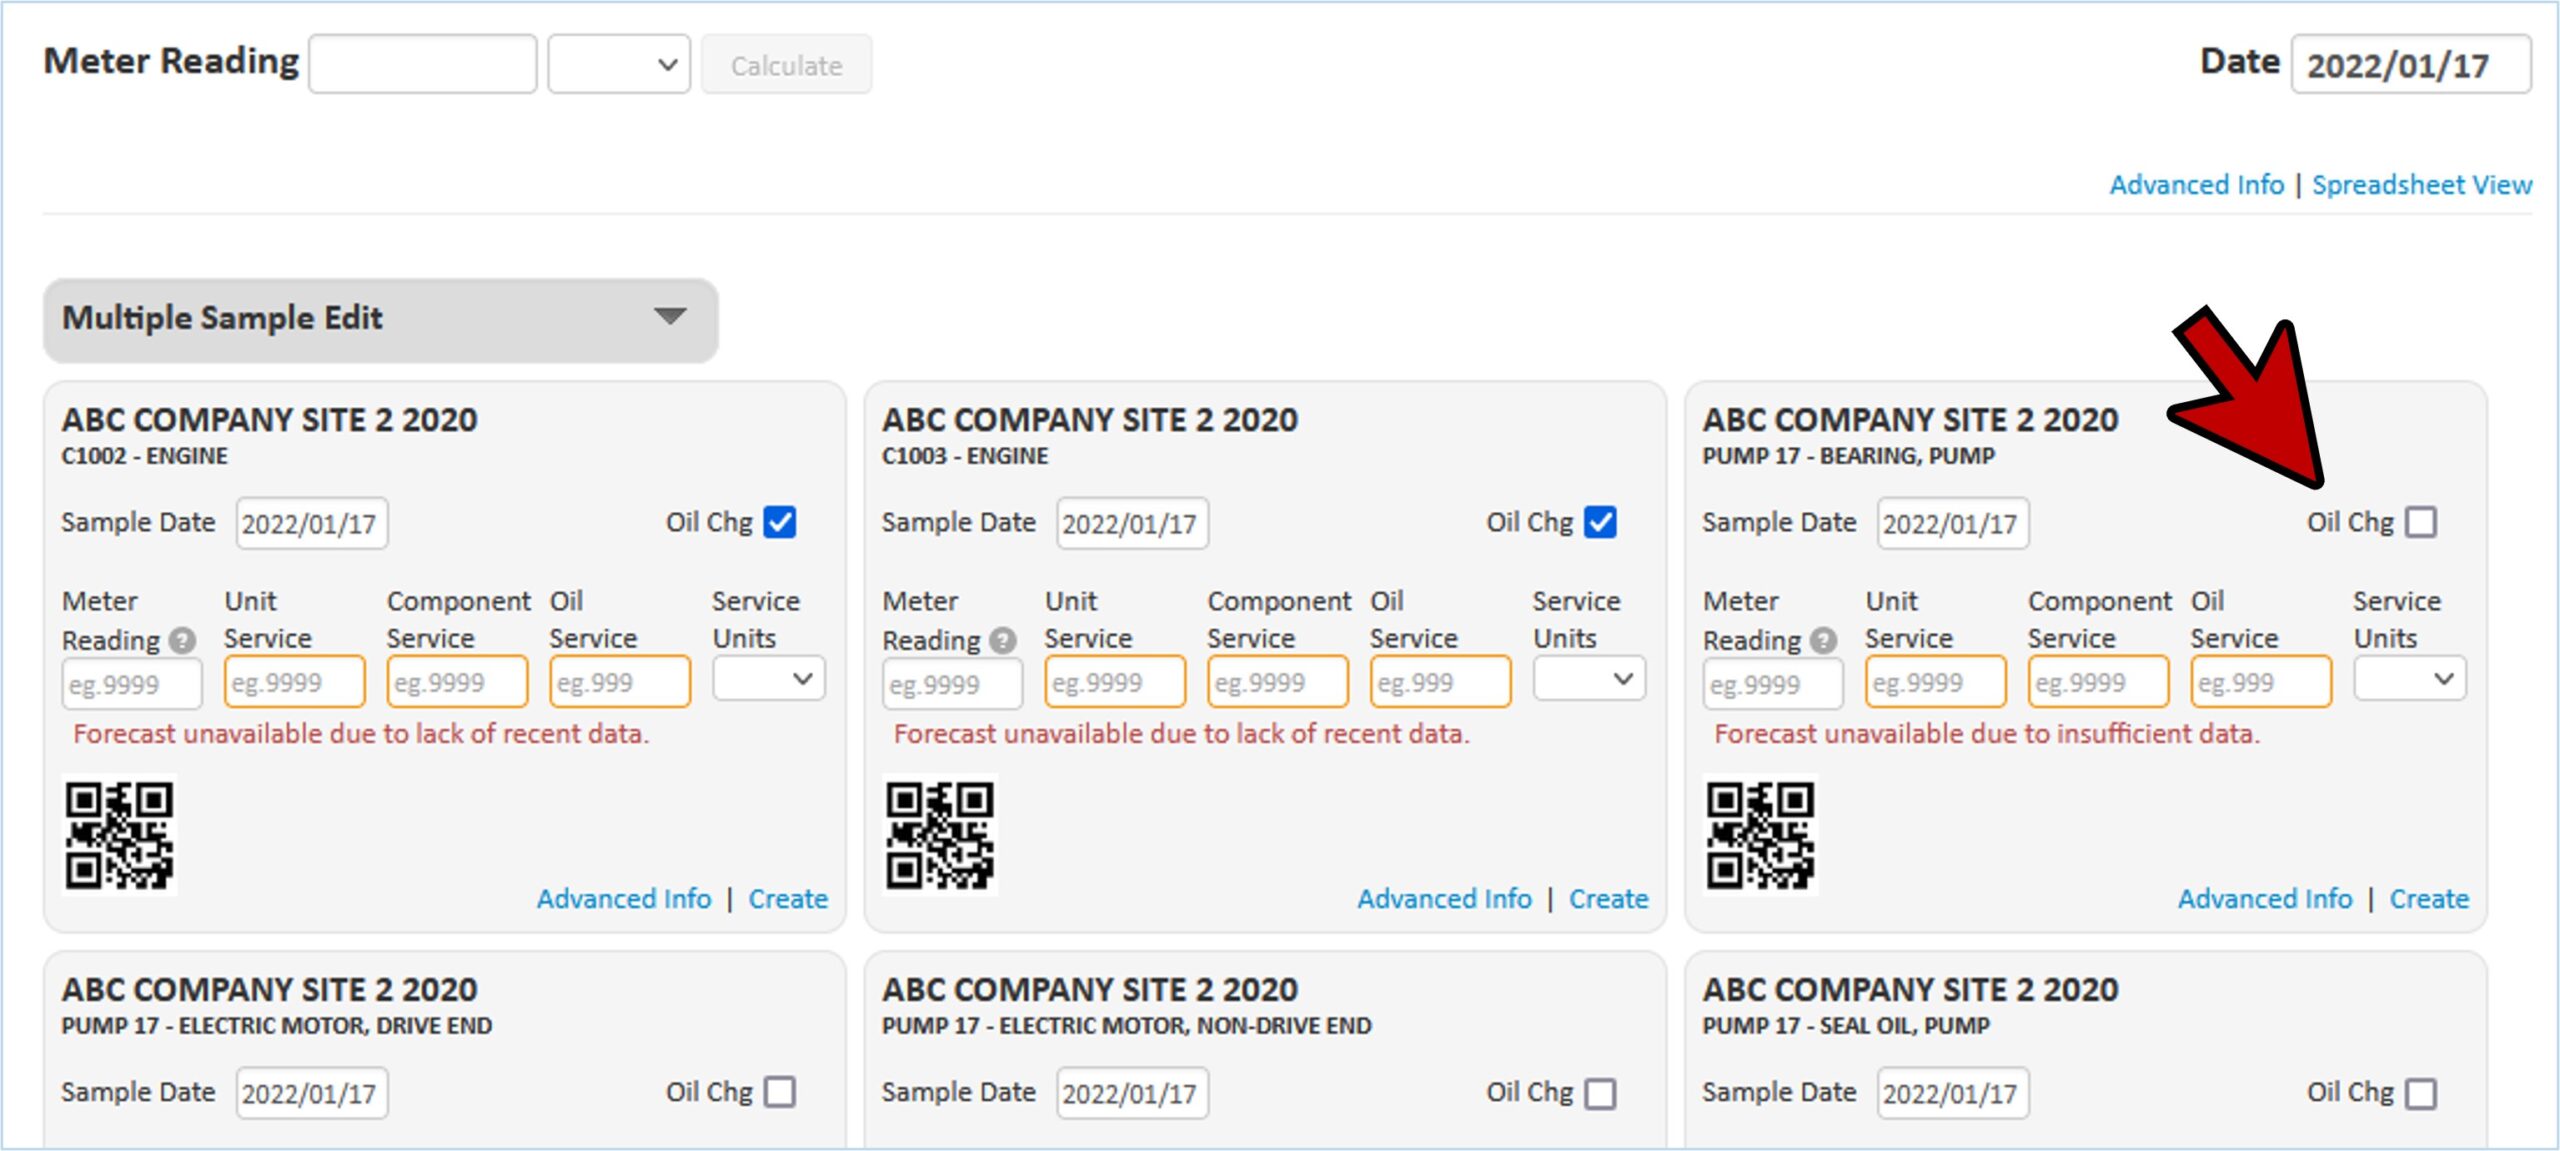
- You may notice the message “Forecast unavailable due to insufficient data.”, below the usage information.
- myLab will use and forecast from previously entered service meter data if it’s available.
- This message is letting you know that there isn’t any data or recent data isn’t available.
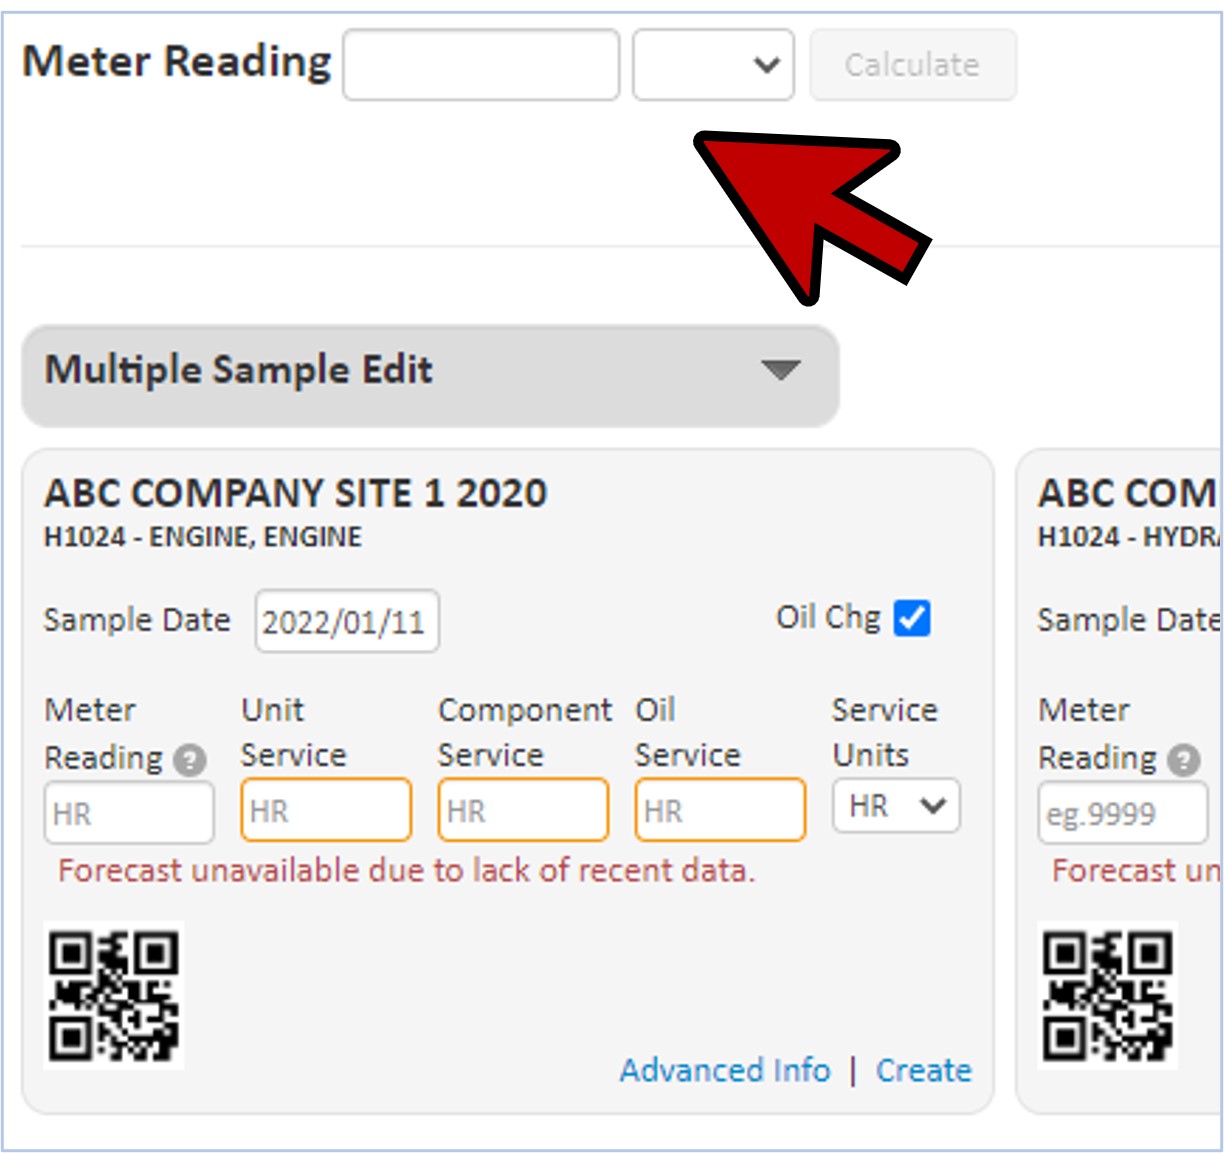
Meter Reading
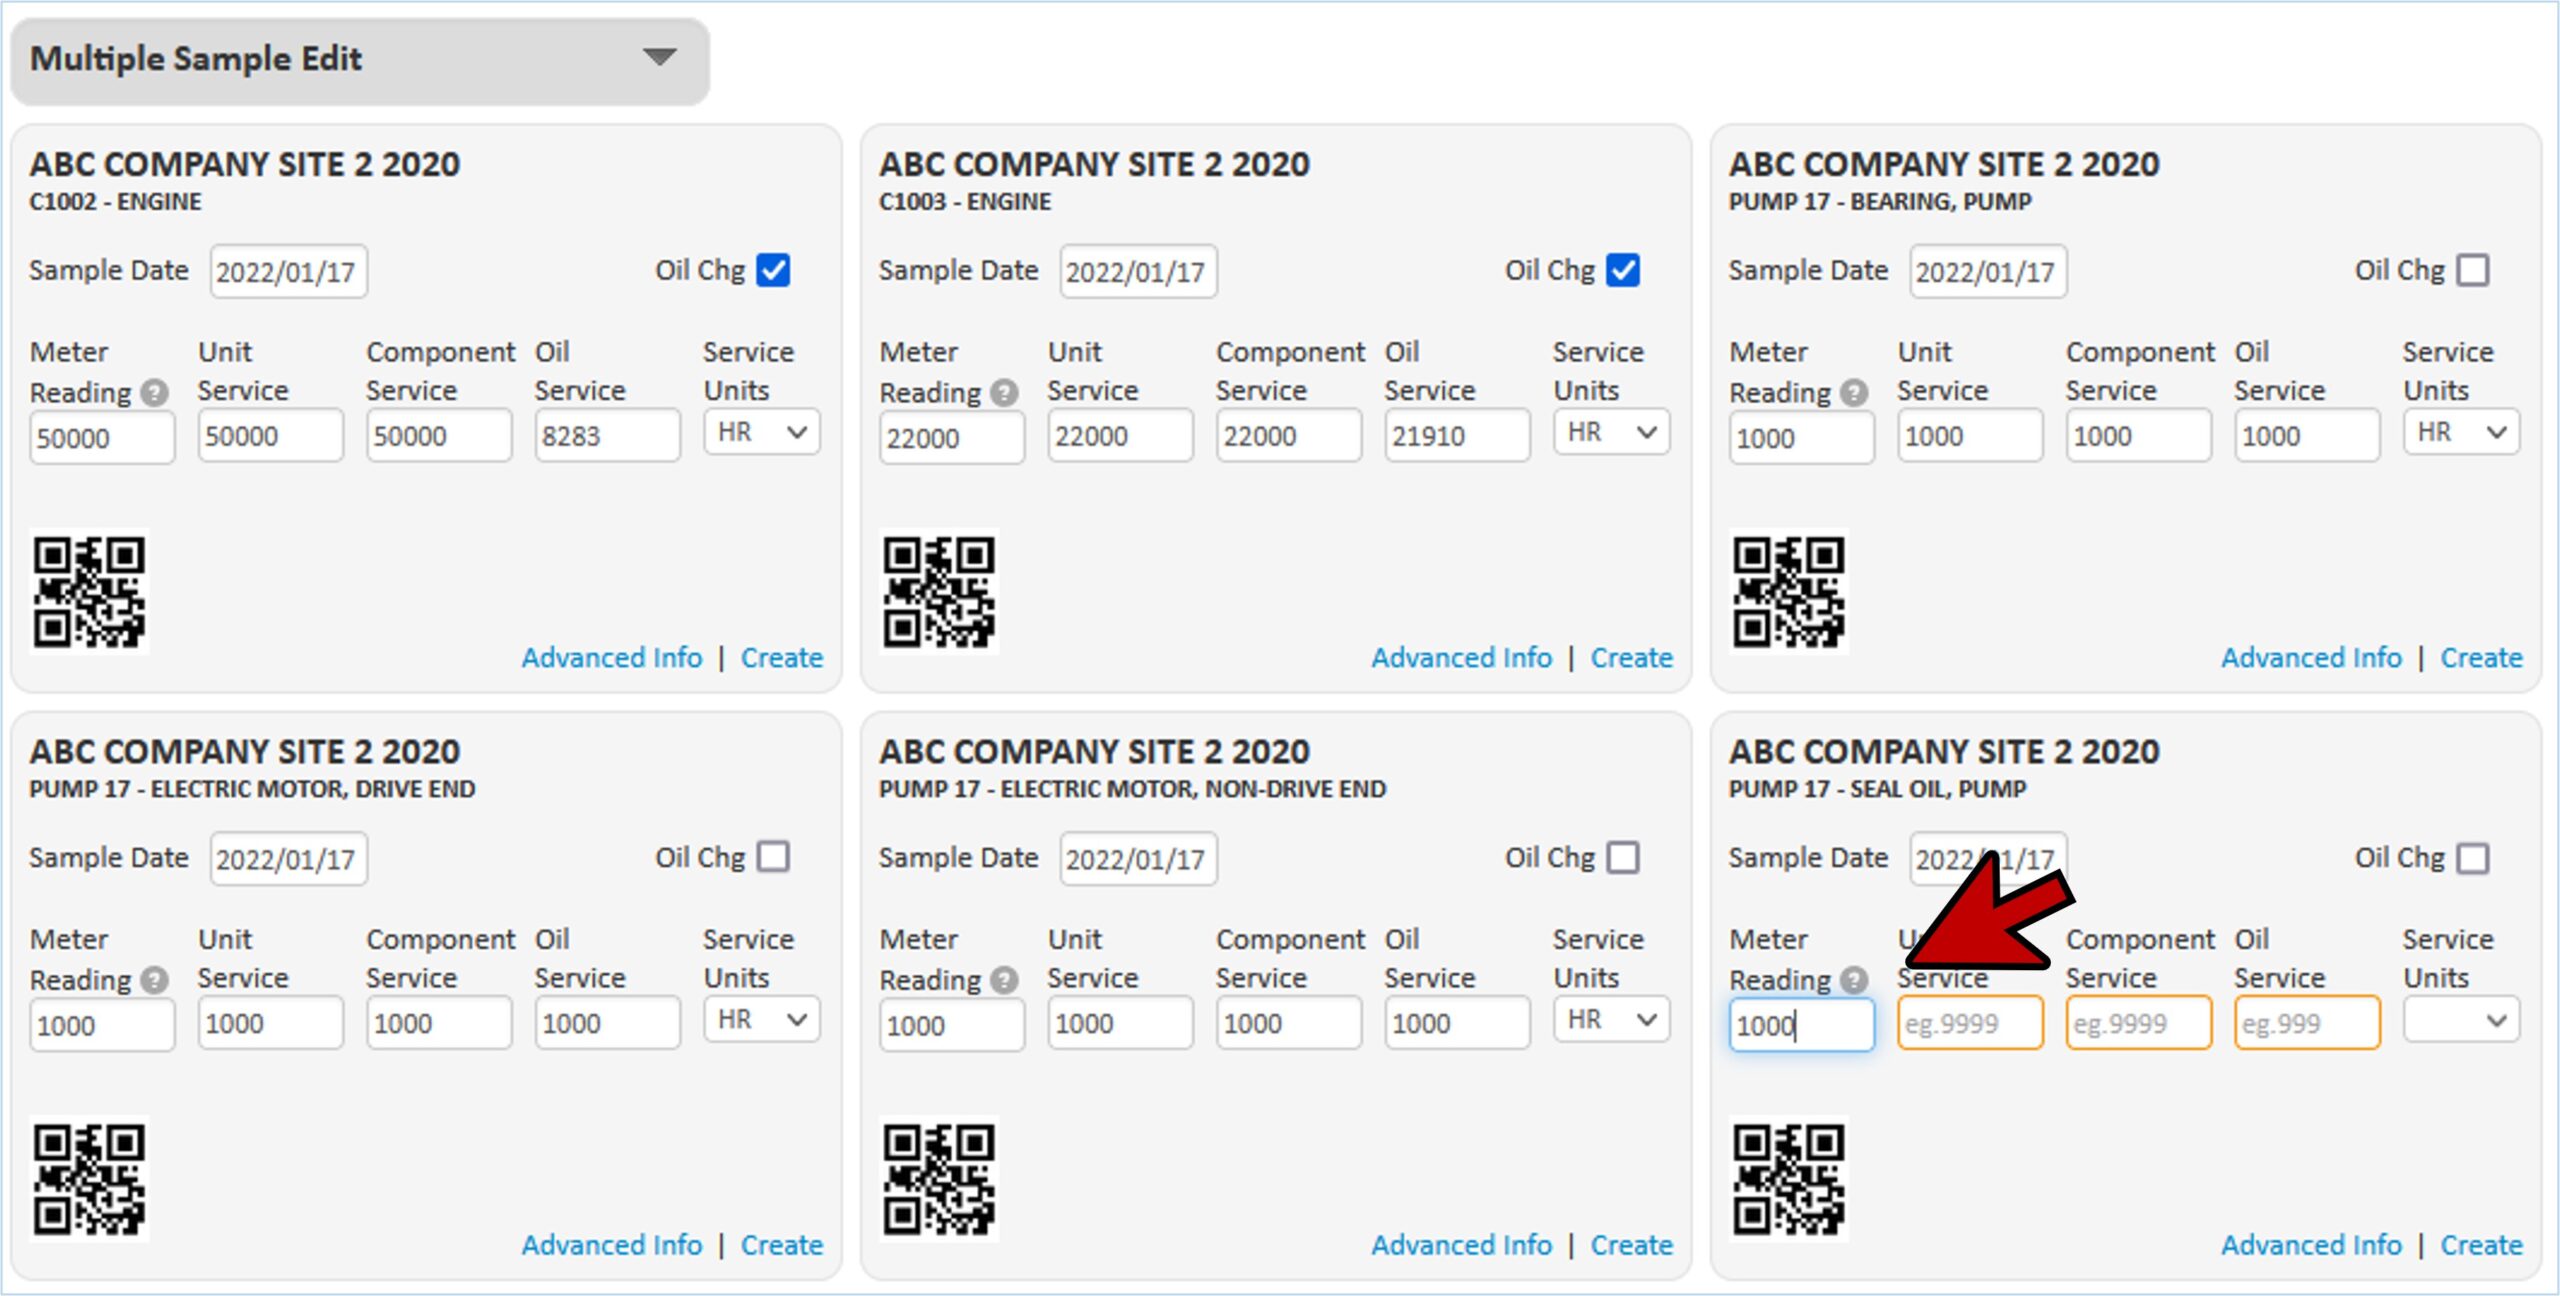
- Enter the meter reading information in the top right corner. This will automatically populate across all of the component sample labels.
- We recommend that you track the usage of your equipment and the oil used. This information helps the lab provide better recommendations.
- As the samples taken are from multiple units, you would enter the meter readings on each sample label.
- As you do so the correct unit service, component service and oil service is calculated for you if this information is available on previous samples.
Add Oil Change
- If the oil had been changed prior to sampling, click the “Oil Chg” box to advise the lab.
Create/Print Sample Labels
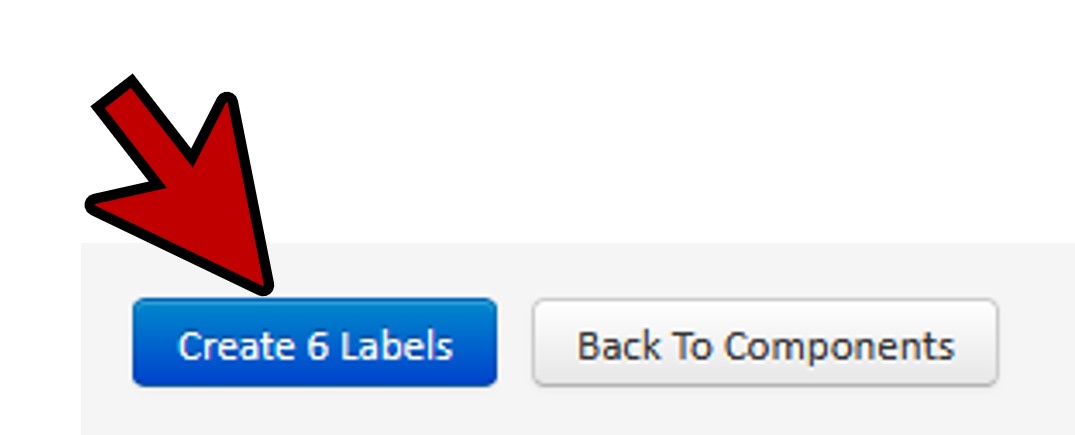
- Once you’ve entered your data for the samples, click on the “Create Labels” button at the bottom of the screen.
- For our example, because we selected 6 components for sample setup, we would see “Create 6 Labels” within the button.
- You can now see the finished labels for each sample.
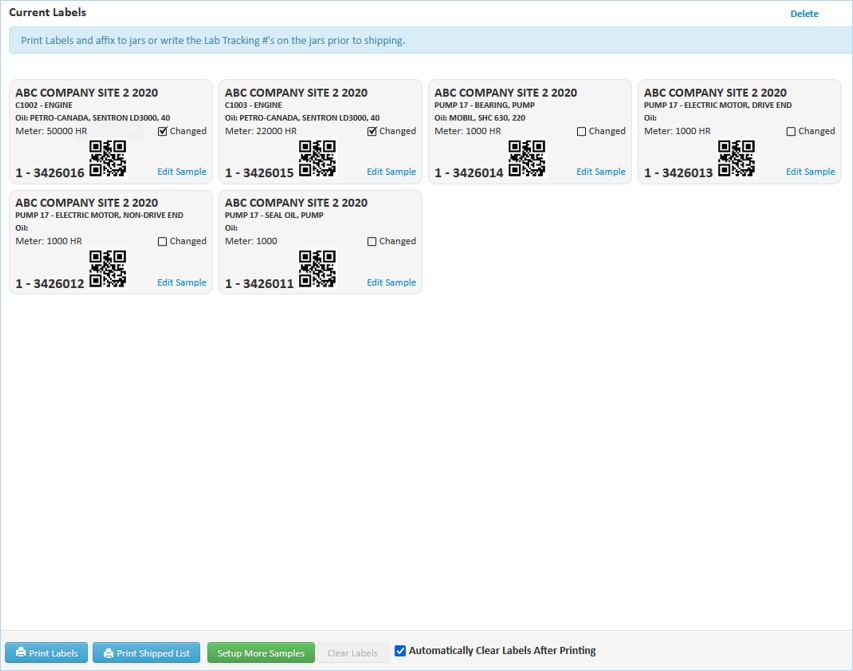
- You now have two choices:
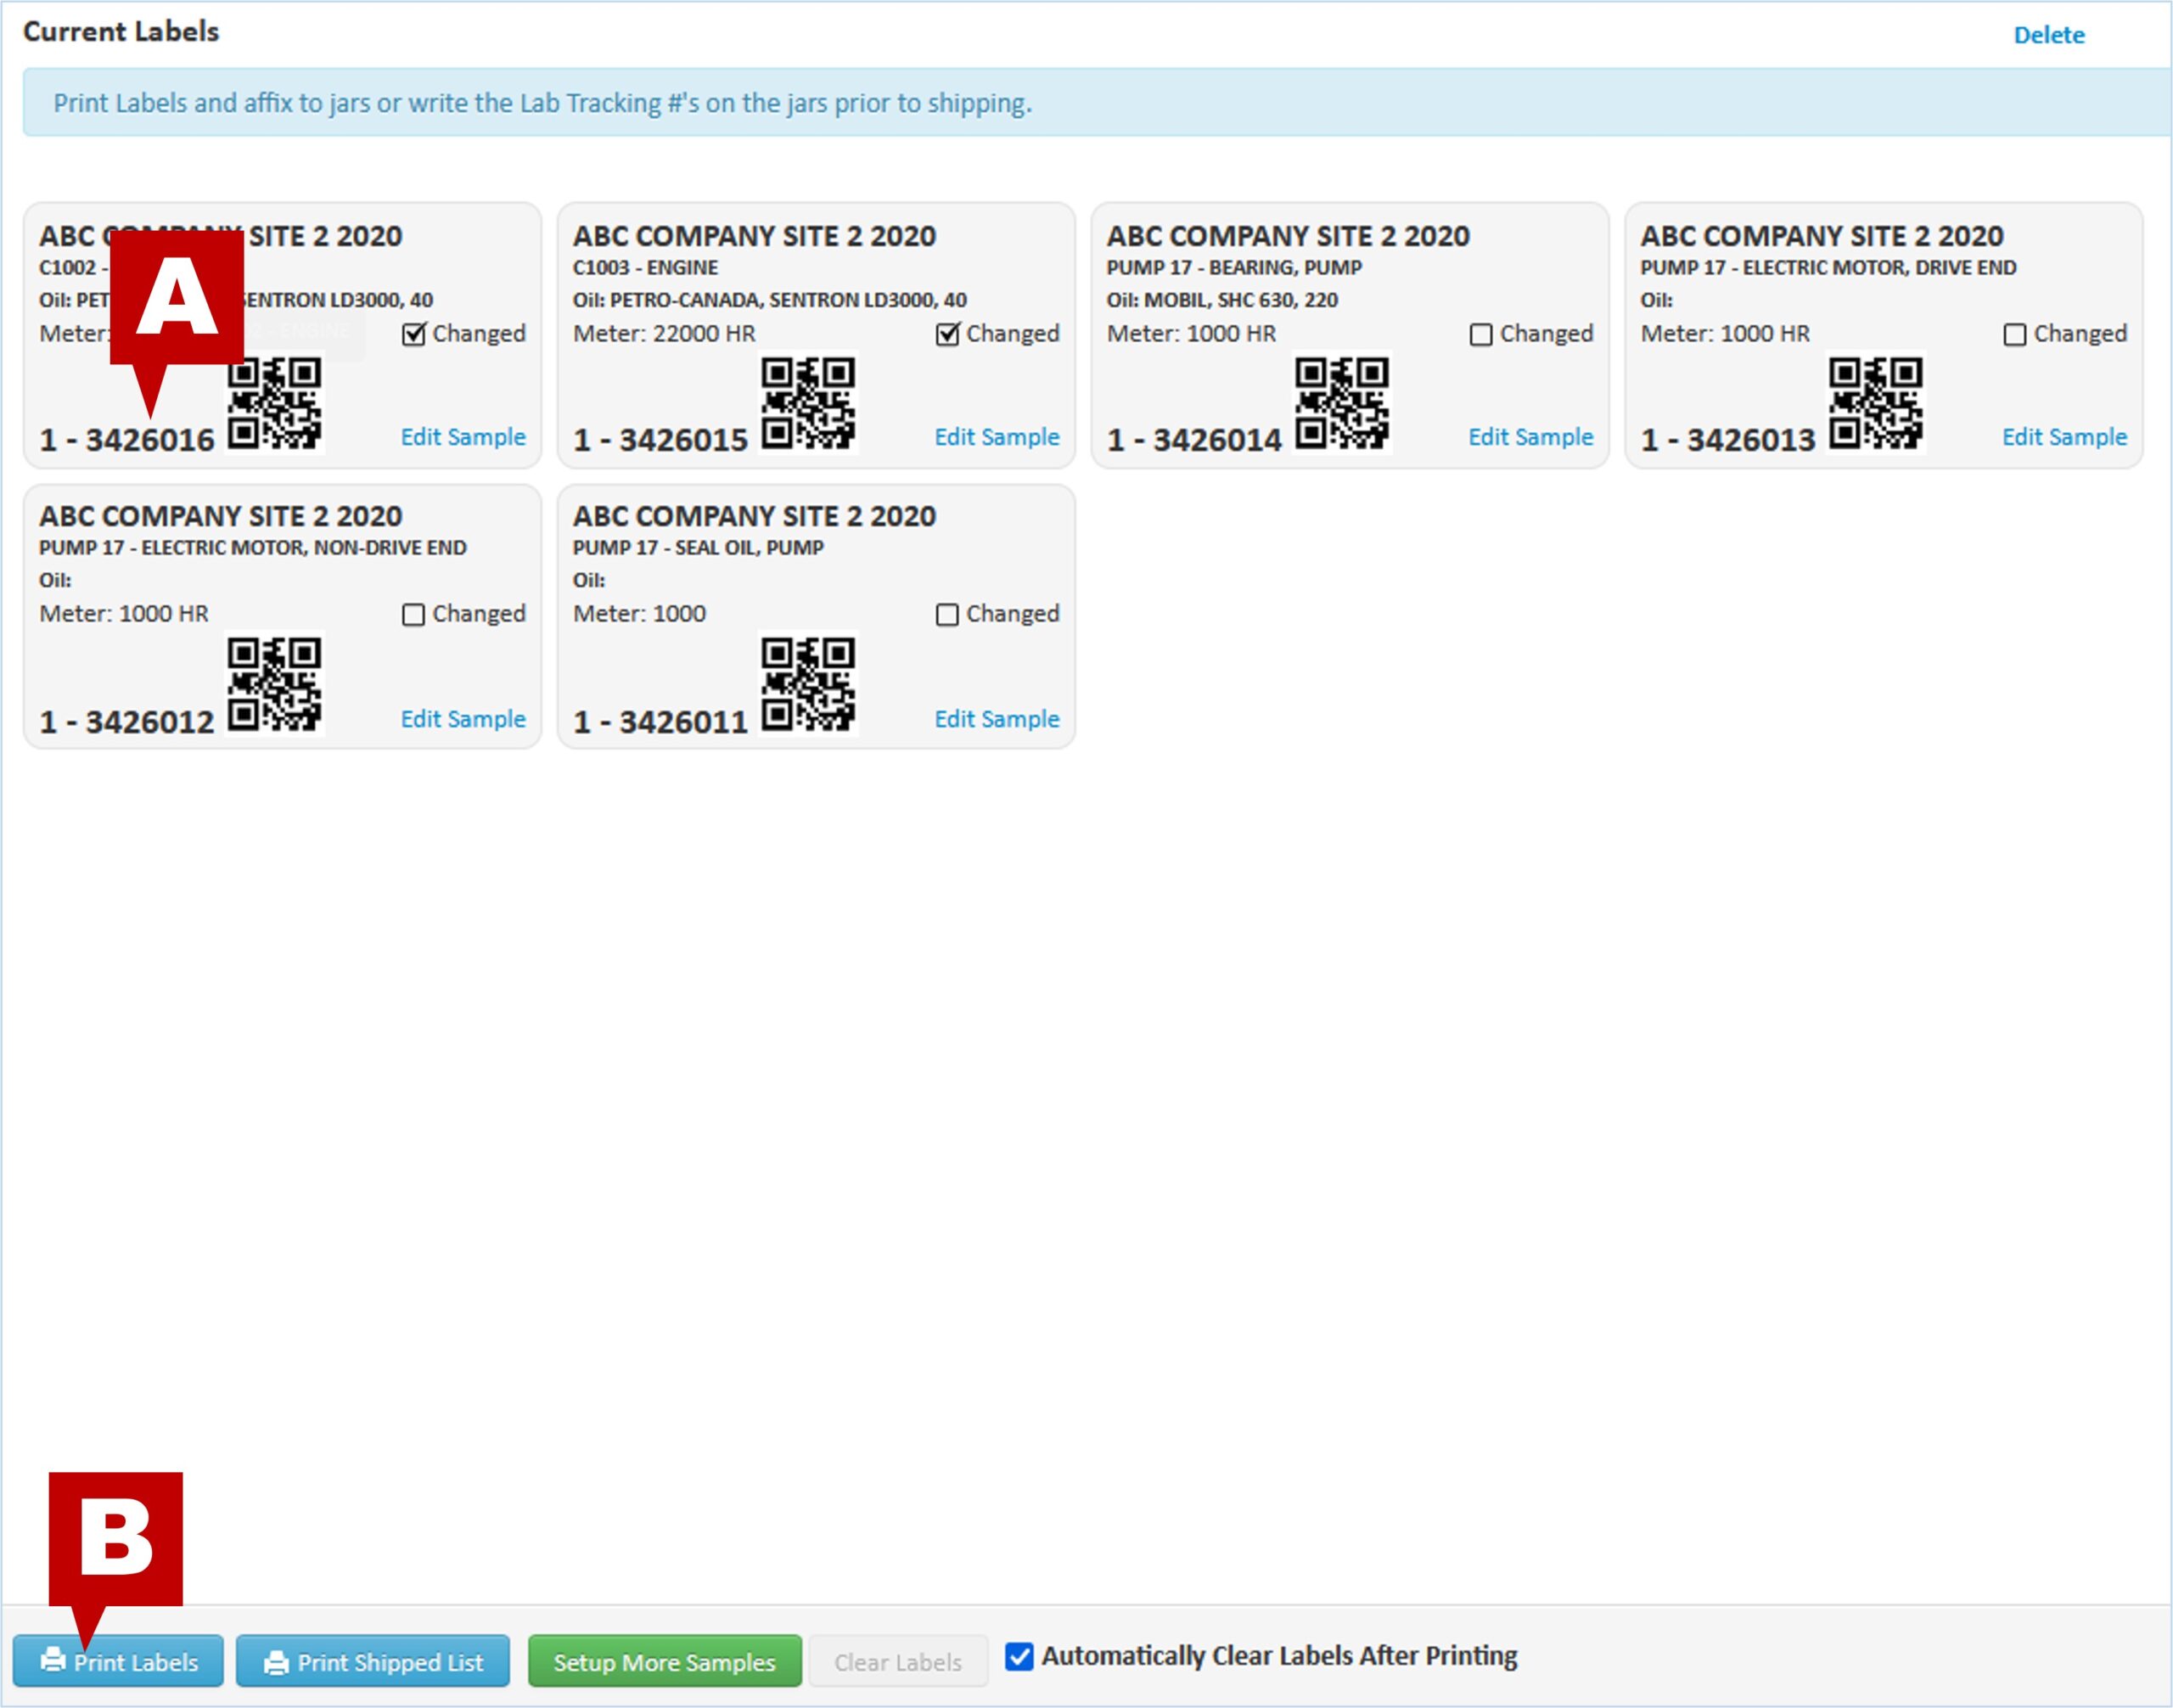
- Write the tracking numbers shown on the bottom right corner of the label (A) on to the sample jar manually.
- Print labels to affix to the sample jars (B).
Print Labels
- Click the “Print Labels” button at the bottom (see “B” above)
- Select the label format.
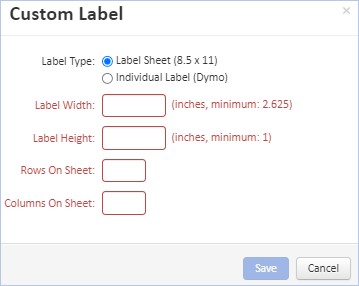
- You can select from Dymo or Avery style labels or customize to meet your requirements.
- The Dymo label format works with the label printer available from Fluid Life to print exactly the right number of labels from a roll without feeding label sheets into a printer.
- There are also two types of Avery label sheets supported.
- myLab will automatically remember your selection.
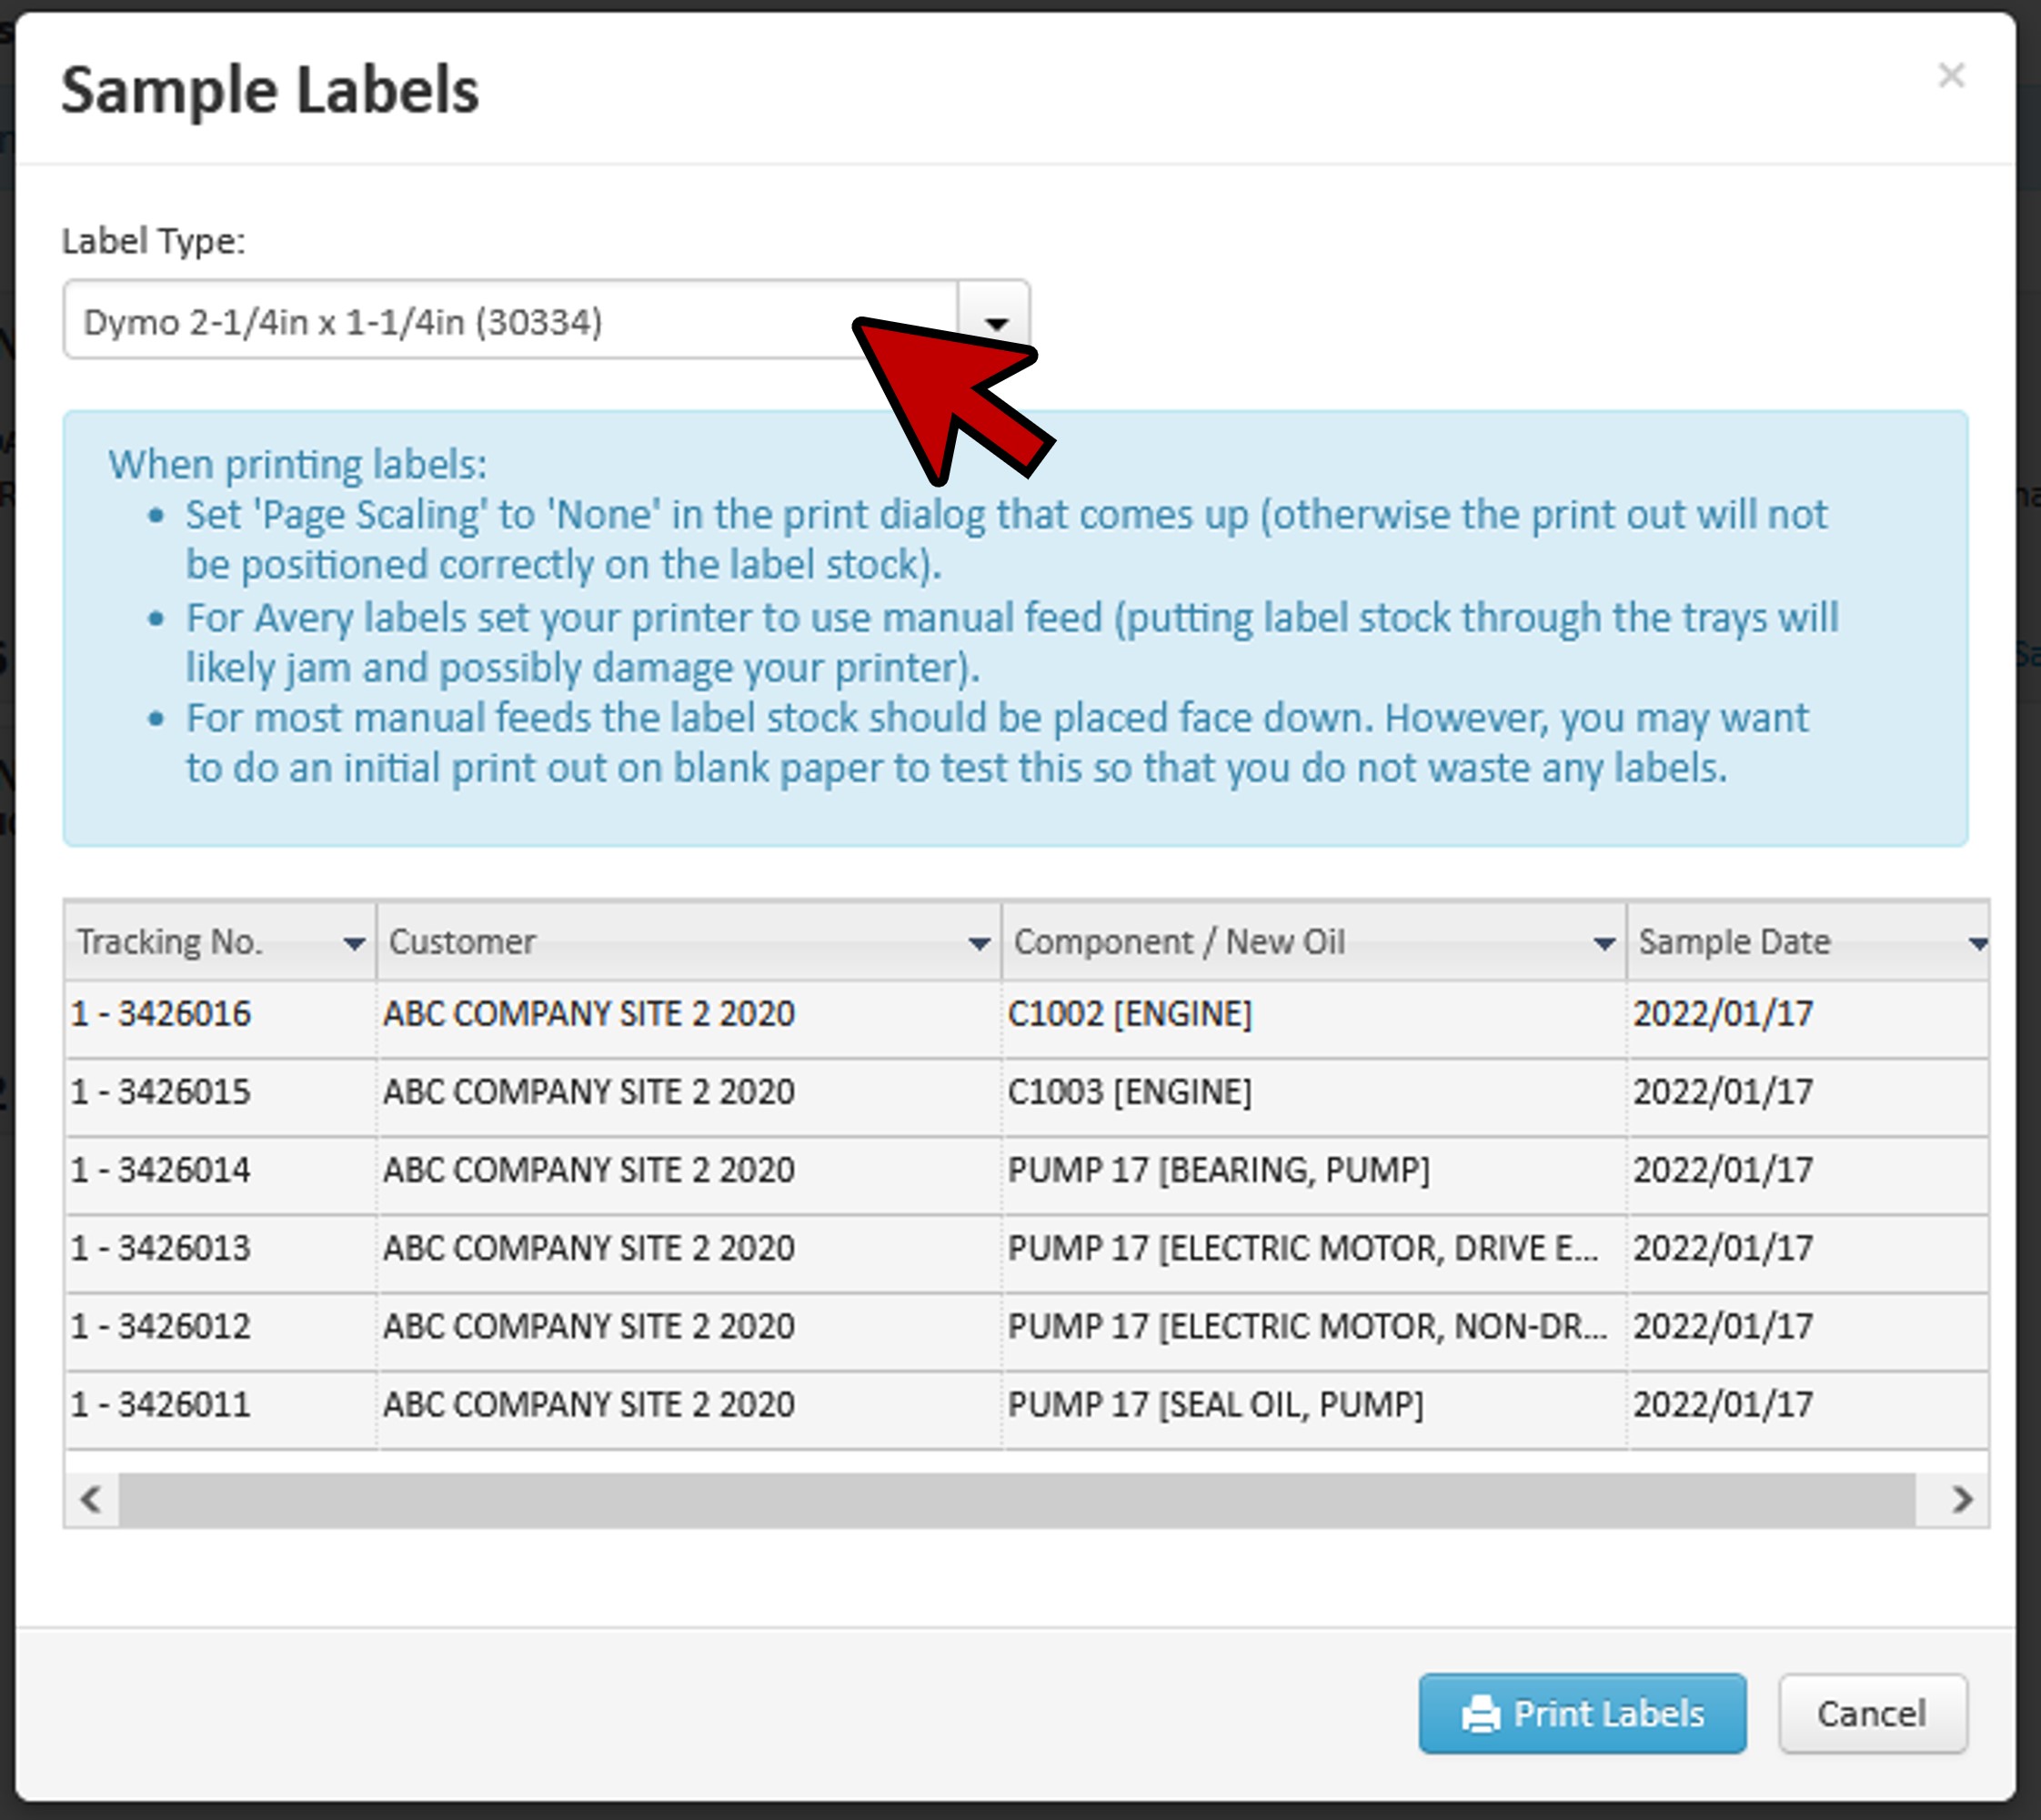
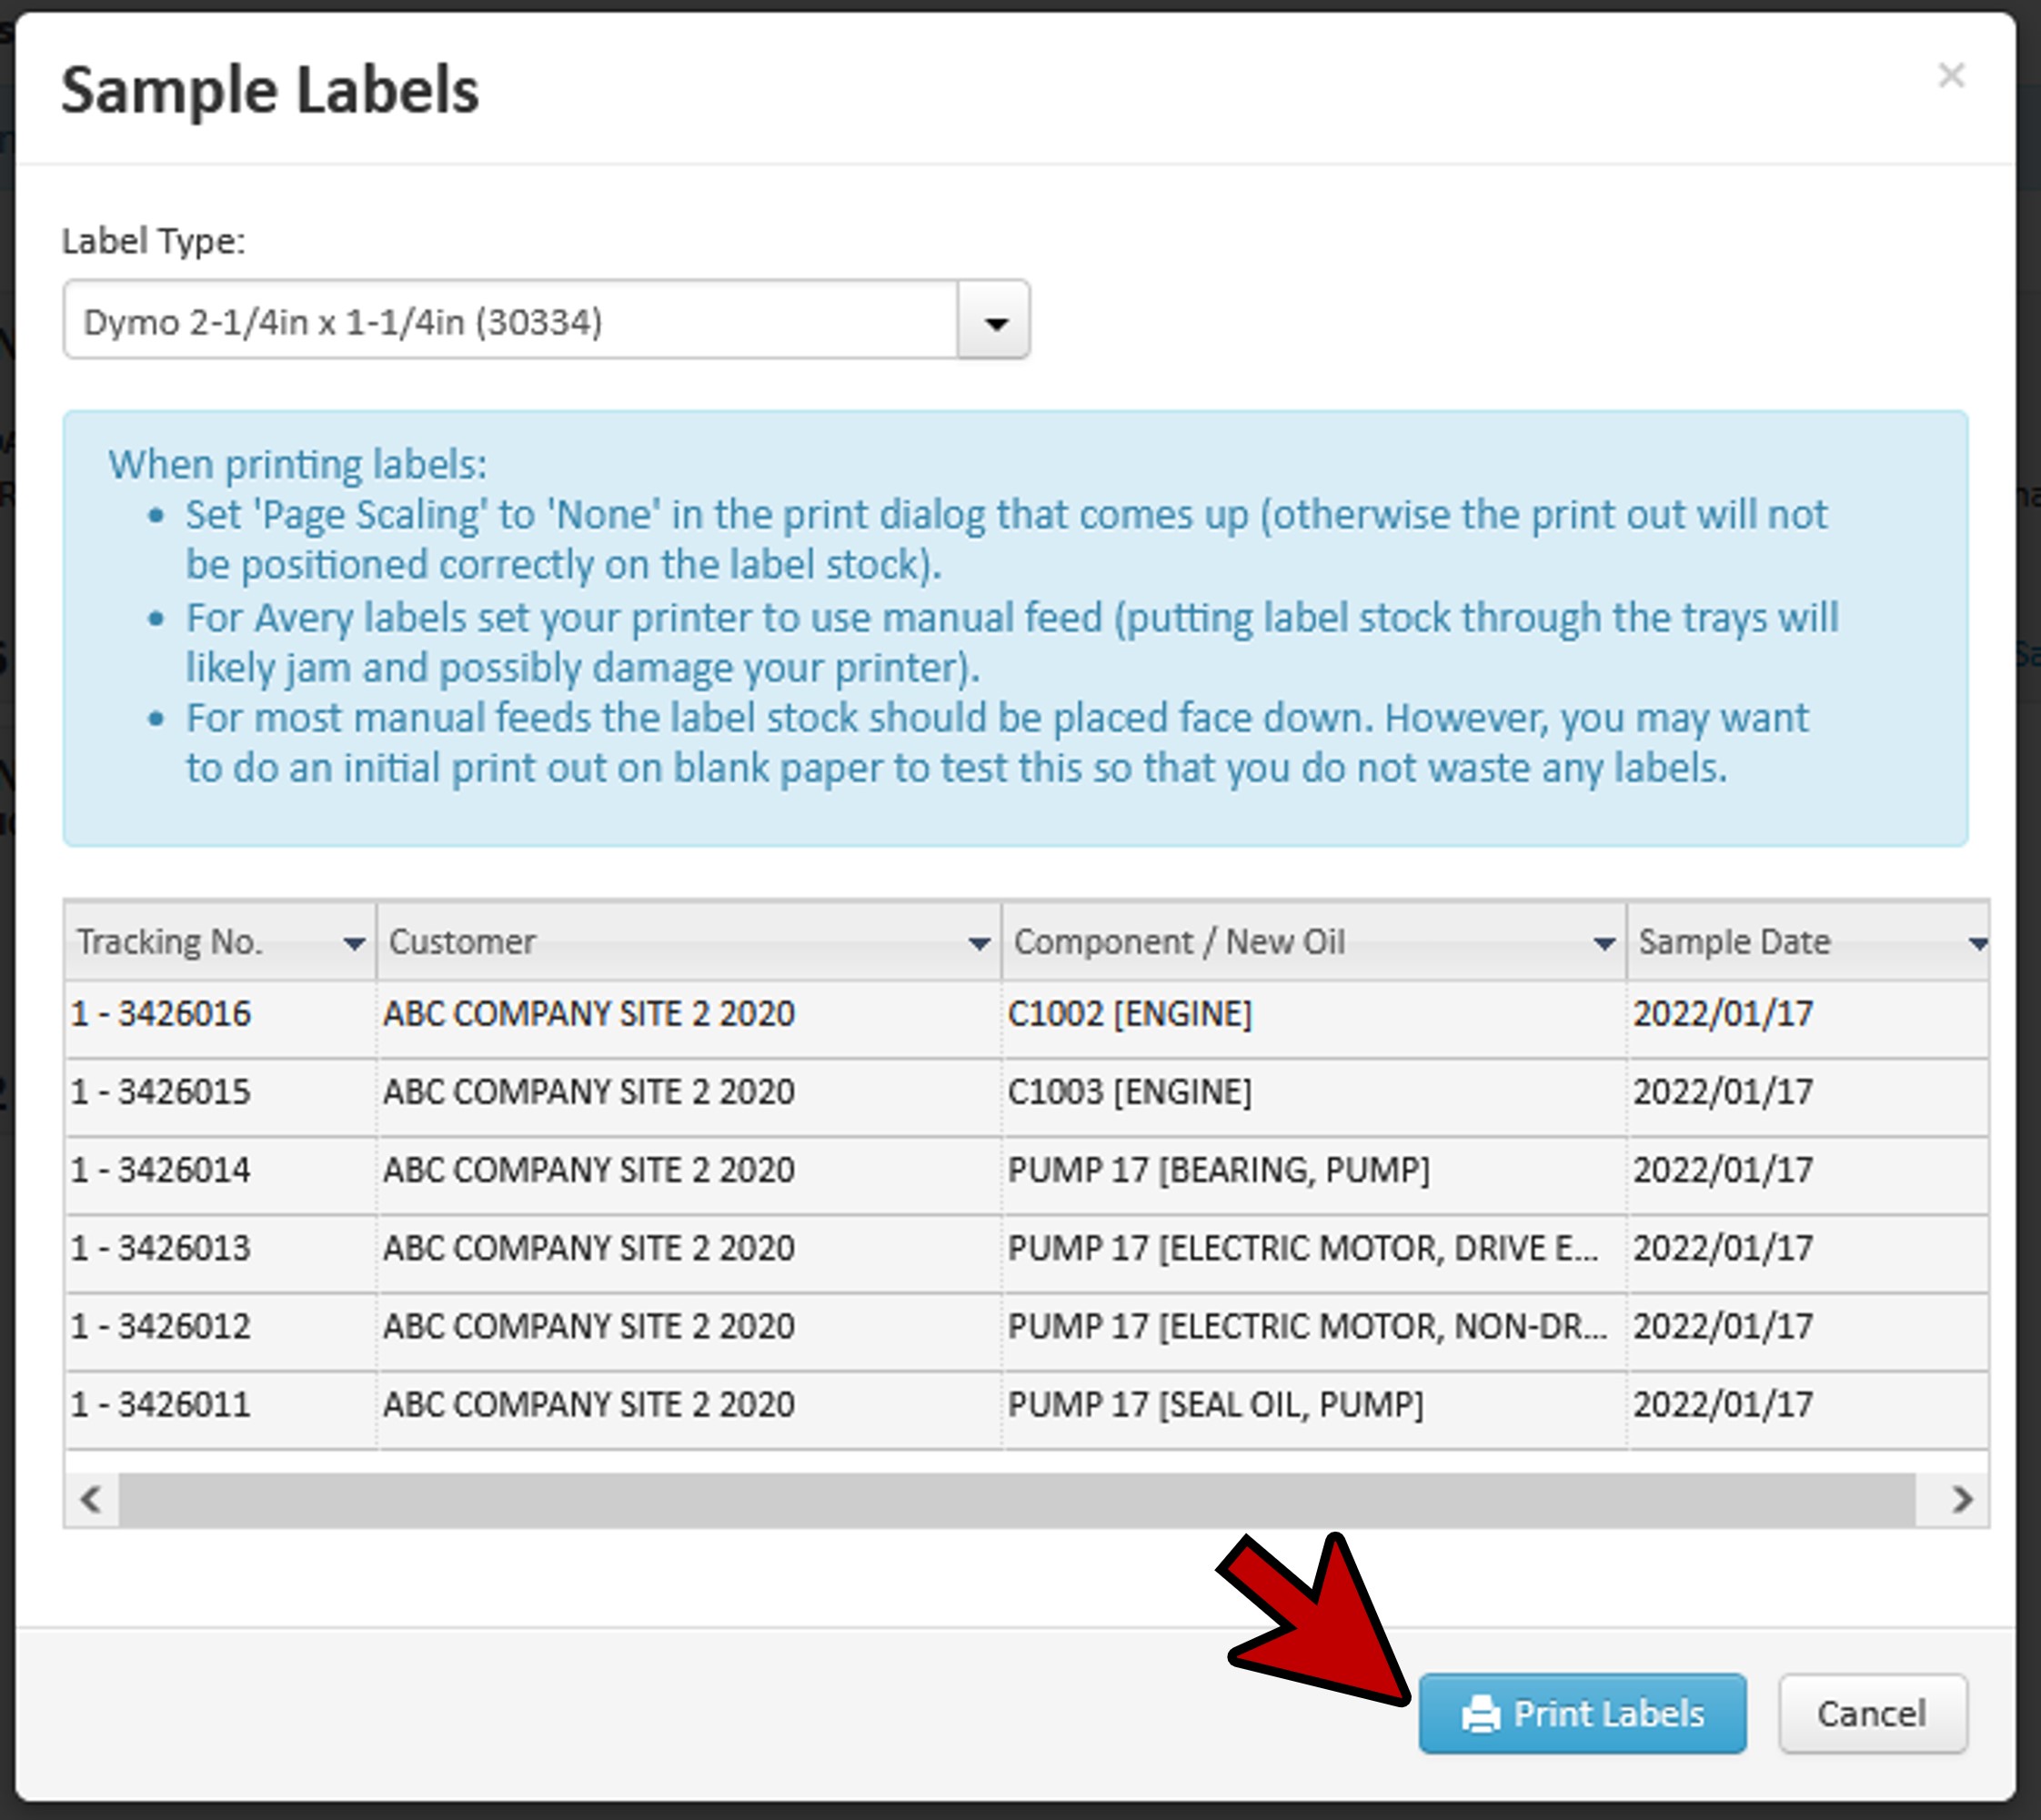
- Once you’ve selected your label style, click “Print Labels” at the bottom of the window.
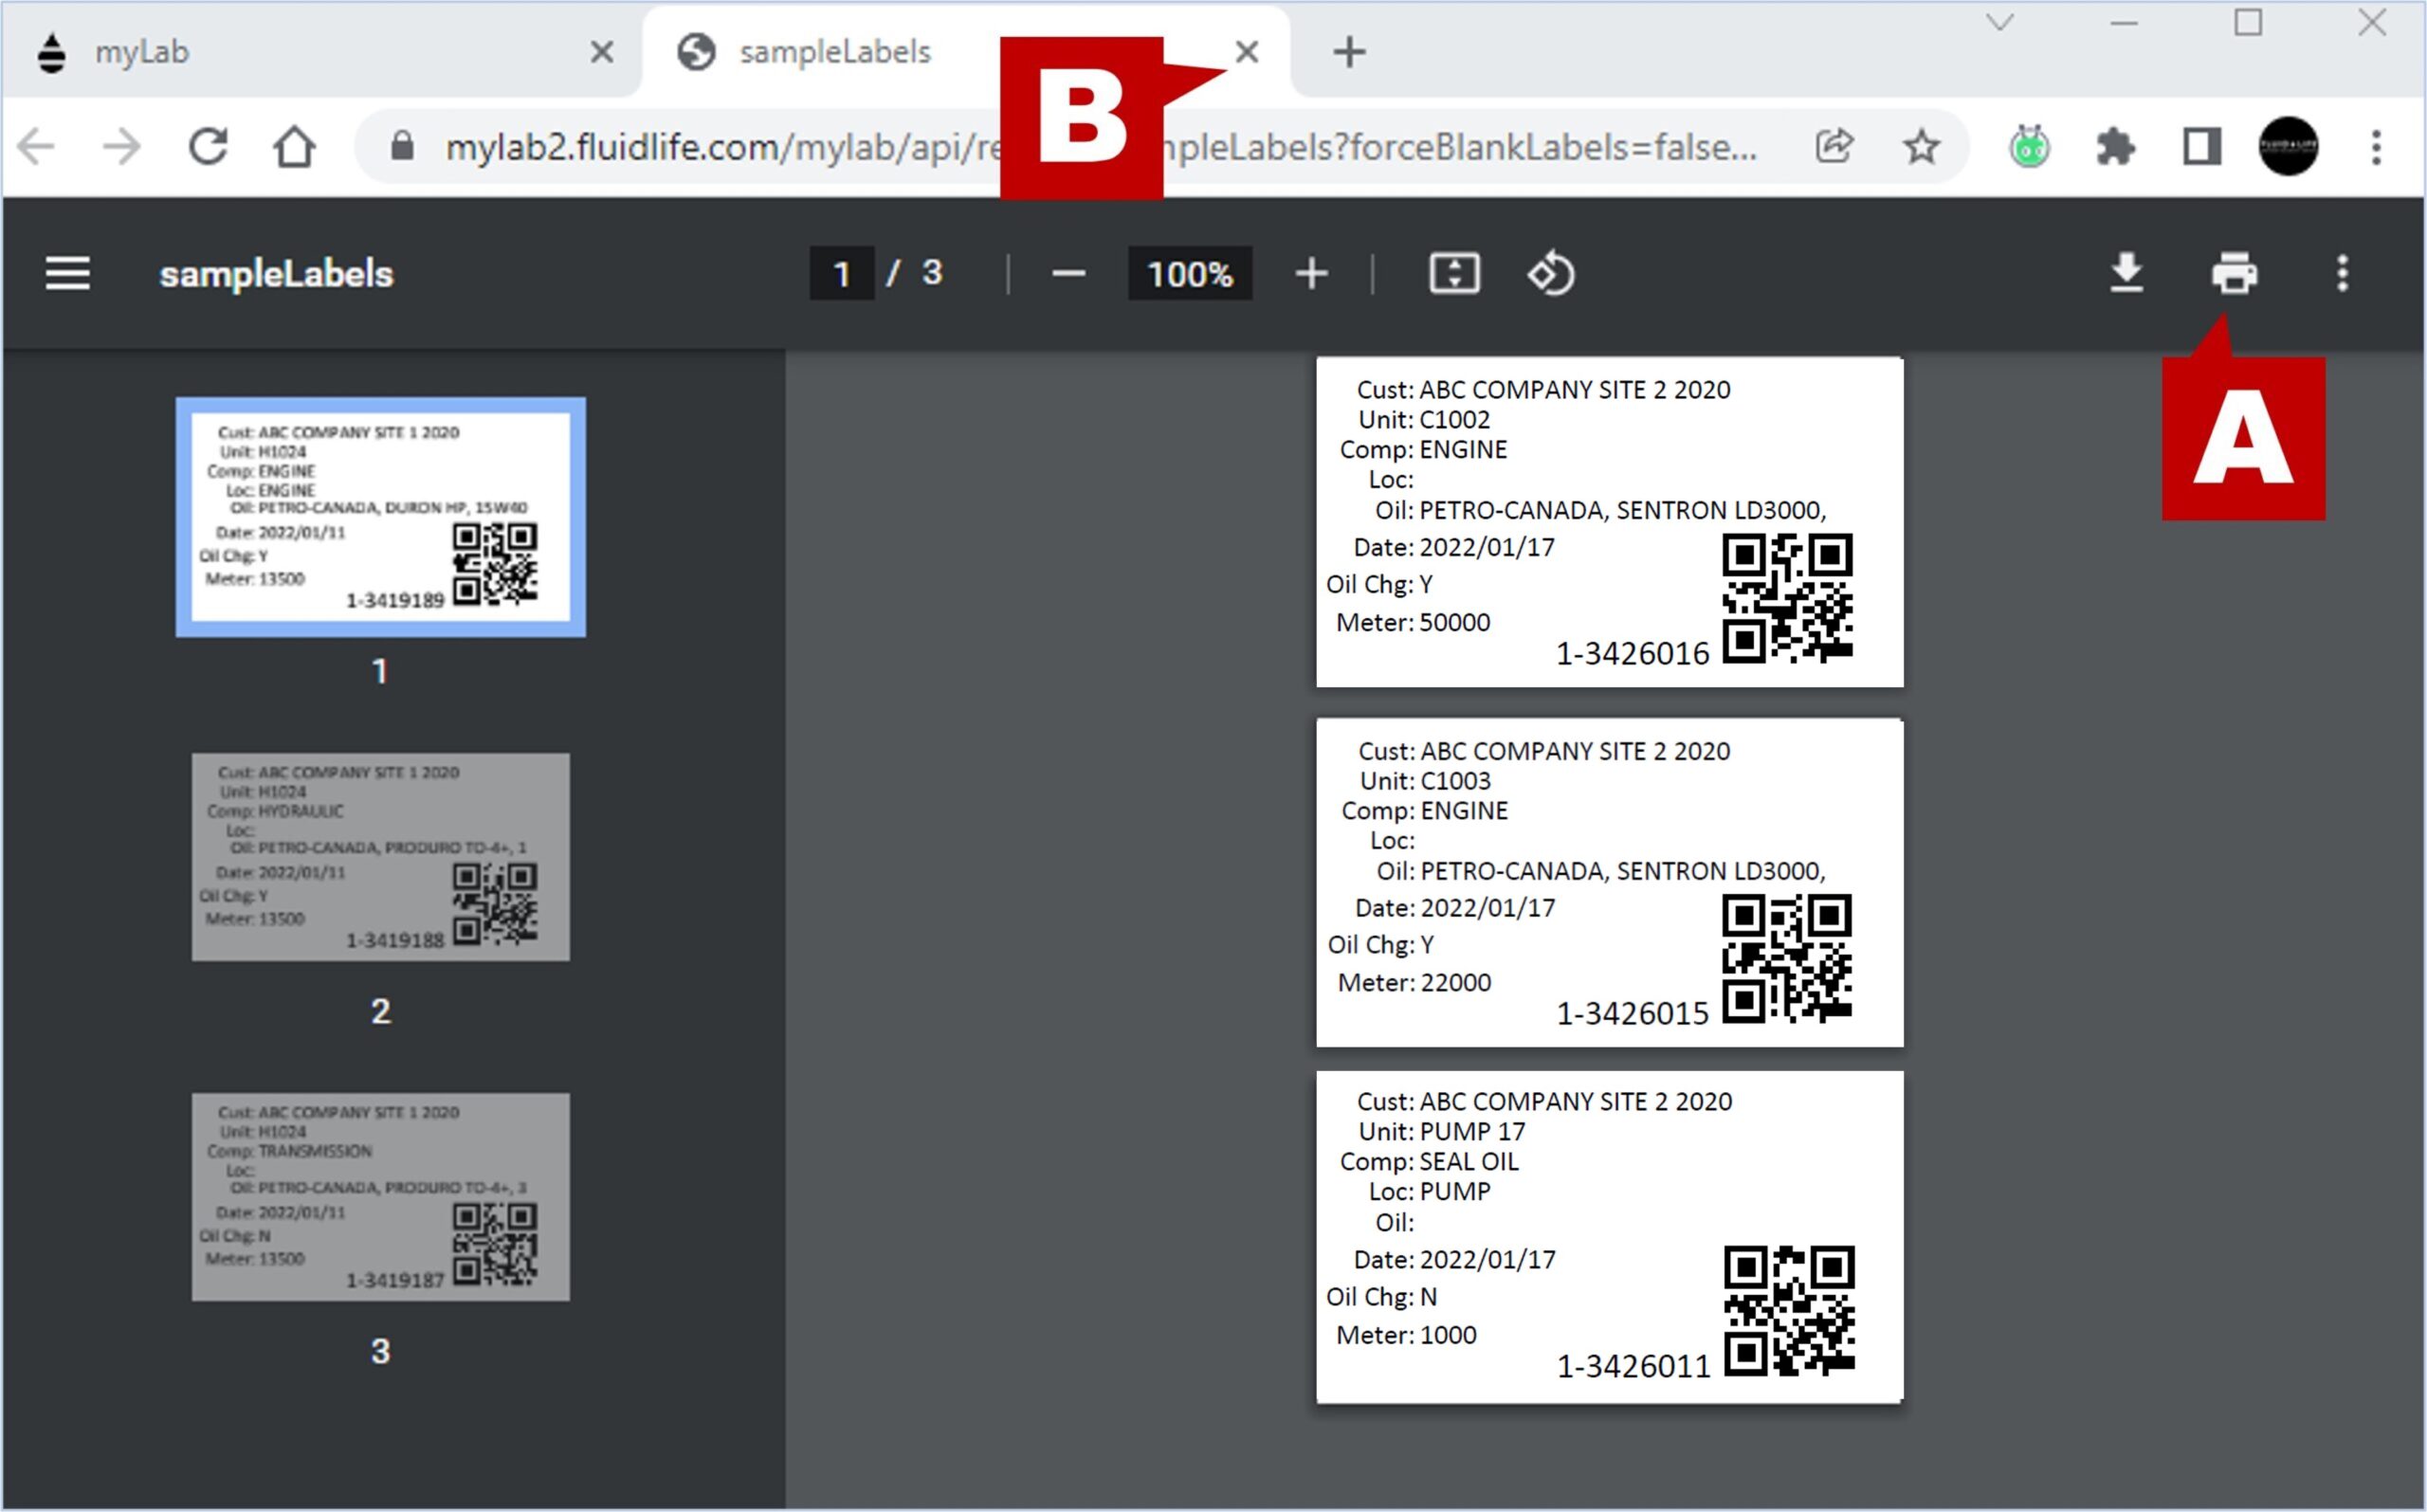
- Depending upon how your web browser is set up, a PDF of your individual labels will be automatically downloaded or a new tab will open with your sample labels shown.
- If a separate tab or window is opened, use your web browser print function (A) to “Print” the labels and place them on the jars.
- Once printed, close the “sampleLabels” tab (B) to return to myLab.
- Back in myLab, click “Home” to return to the Home Page.