Building Routes
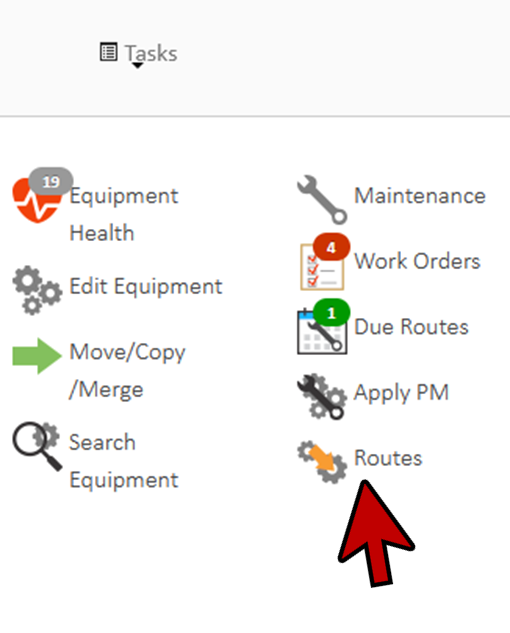
- From the Home page CLICK the Routes icon to open the Routes window.
- Alternatively, from the left menu on the Home Page, select Maintenance>>Routes
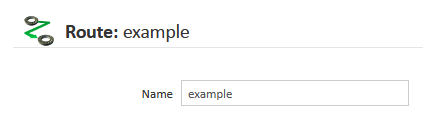
- CLICK the +Add Route button located in the bottom left-hand corner of the window to display the New Route window.

- Enter the routes name in the Name field.
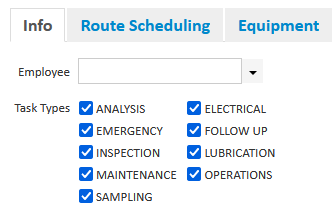
- On the info tab, you can assign this route to a specific employee if you want.
- Typically routes are not assigned to employees; instead the work orders created from the route are assigned later.
- Also, there are check boxes to set the task types for the route. Each equipment task is of a certain type, this allows you to select which types of tasks should be done for this route.
- Leave all checked.
- Now CLICK on the Route Scheduling tab.
- By default routes follow the task schedules of the components on it.
- Here you can override the task schedules and set a schedule for the entire route.
- You can enter a date here to cause the route schedule to start on a specific day.
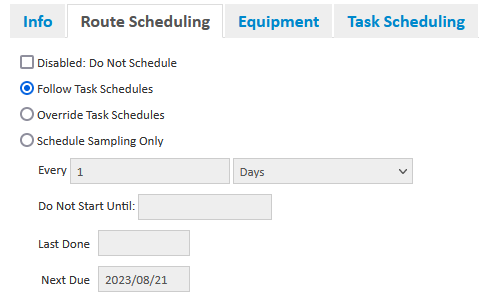
- You can also disable a route from being scheduled here, for example if the equipment on it was part of a temporary plant shutdown.
- Next add some equipment to my route by CLICKING on the Equipment tab. And pressing the ‘Add to Route’ button here.

- You can then either browse the equipment hierarchy, or search for units or components to add.
- For example, to browse for equipment, click on Browse and then select the Company, Unit Area, Unit Type, and Units by clicking the checkboxes located beside the Units.
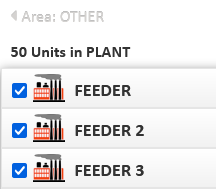
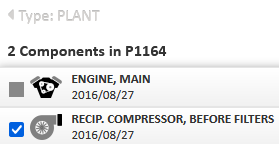
- By CLICKING on a unit (not just the checkbox), you can add individual components as well.
- CLICK Close when done selecting your units and components to add to the route.
- When you close this pop up window, you can see the equipment selected has been added to the route. Press Save to save your changes.
- The remaining tabs display information from the equipment on the route. Notice the component count, tasks and estimated time here are now updated.
- Under Task Scheduling tab, you can see the entire task scheduling information for the route. You can also edit or delete tasks from here.

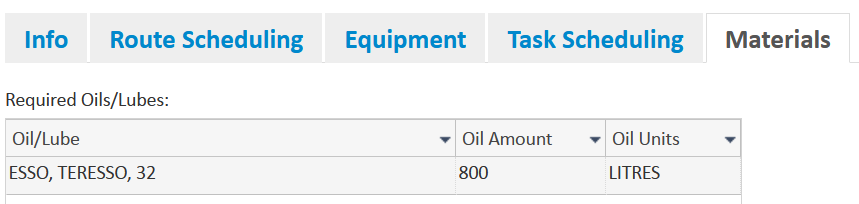
- On the Materials tab, you can see all the oils and filters required for the tasks on the route and the amount needed for each.
- Once you’ve setup all of your routes, you are ready to start using them to create work orders.